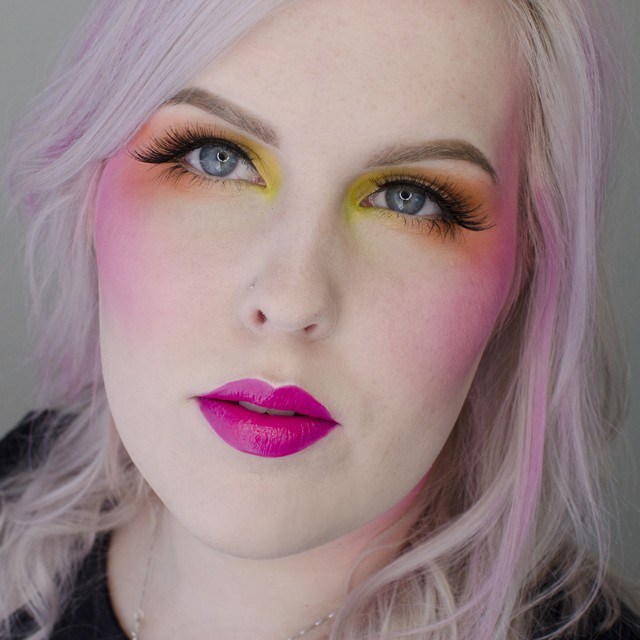
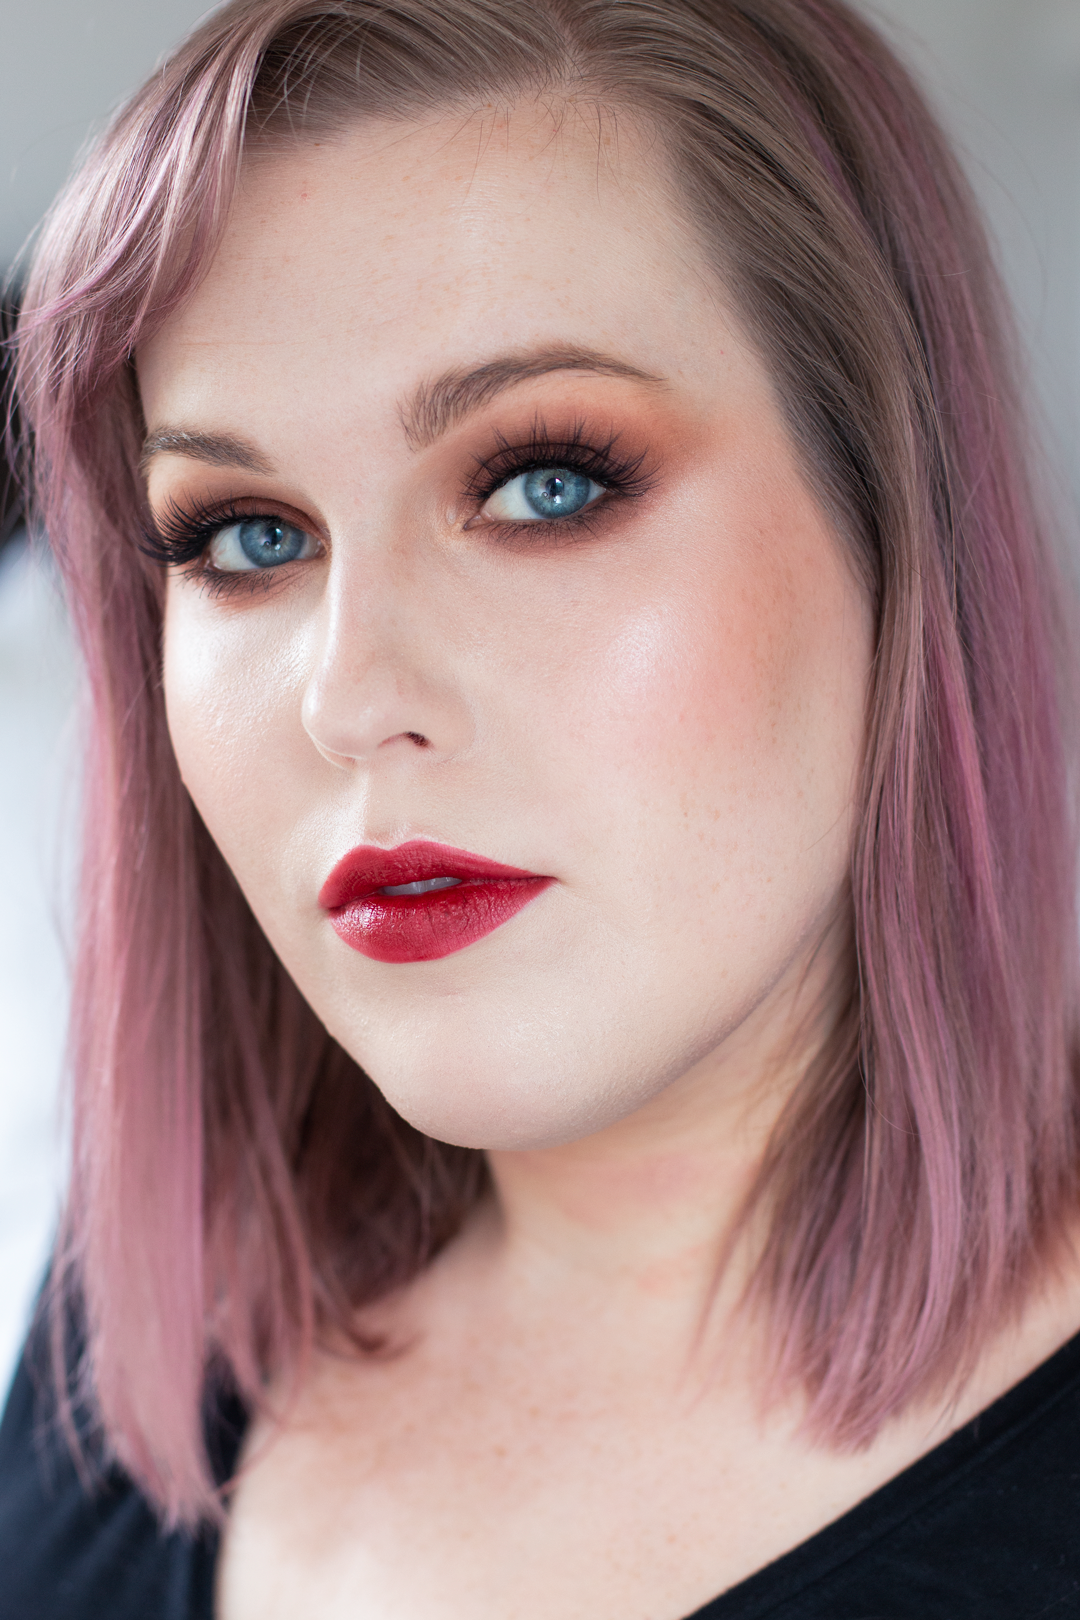
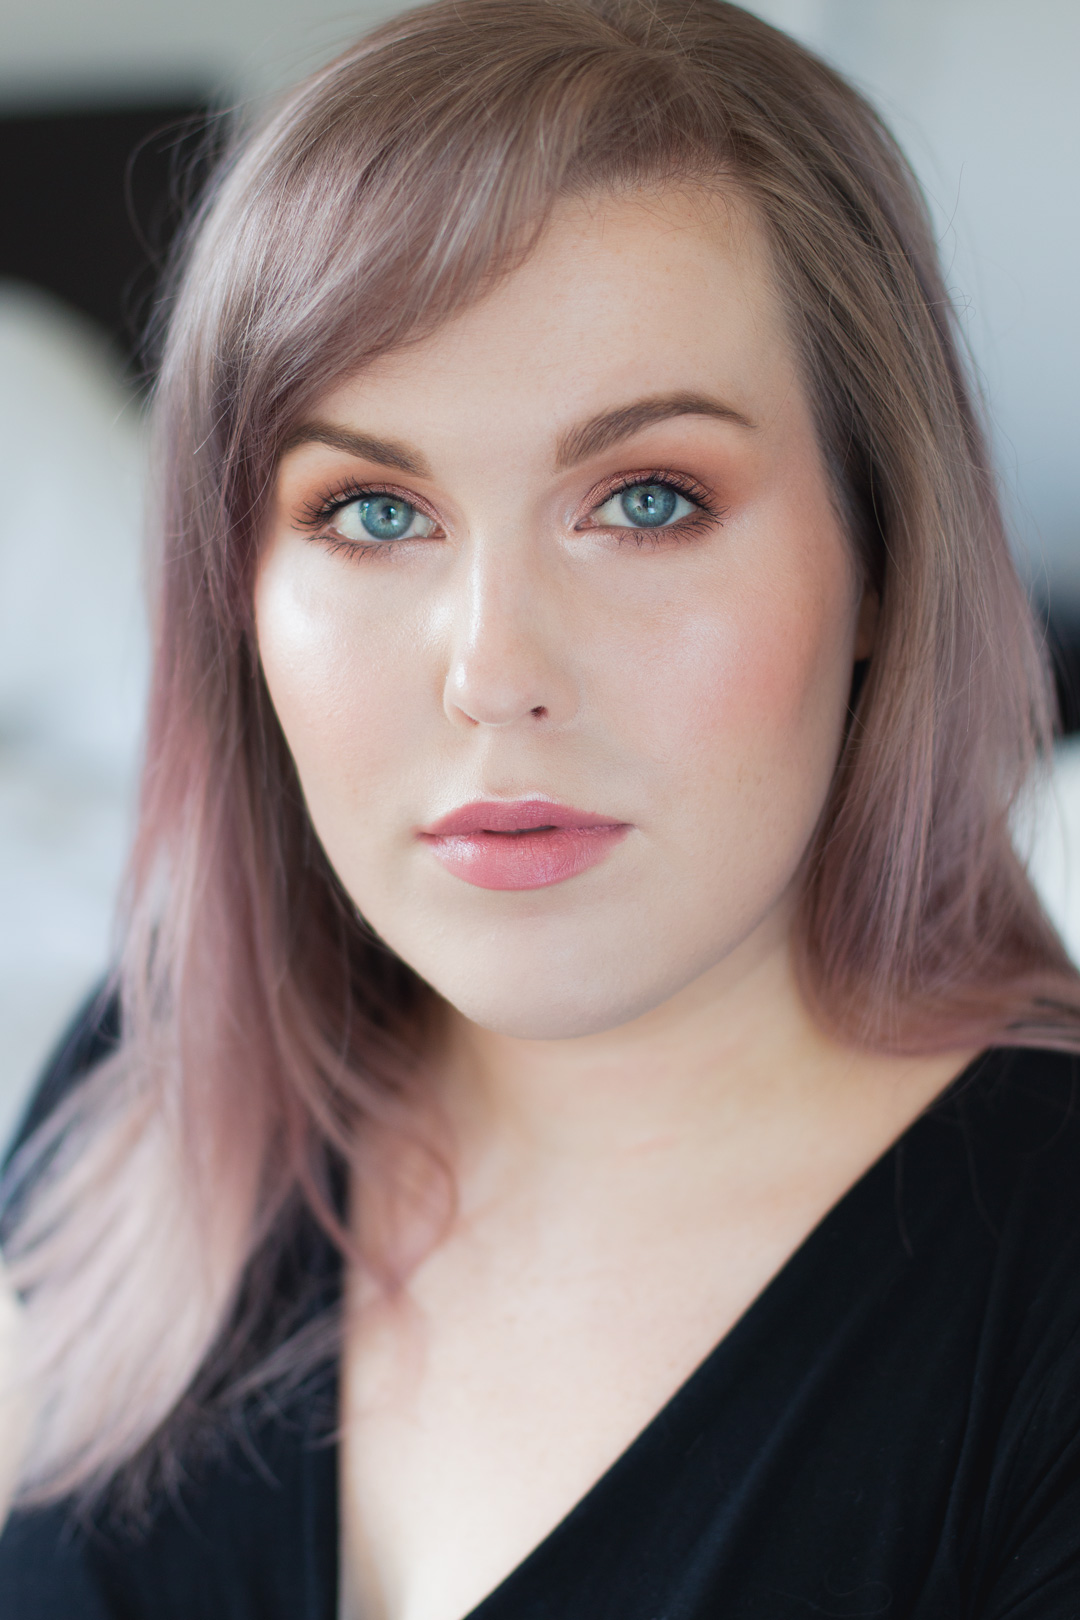
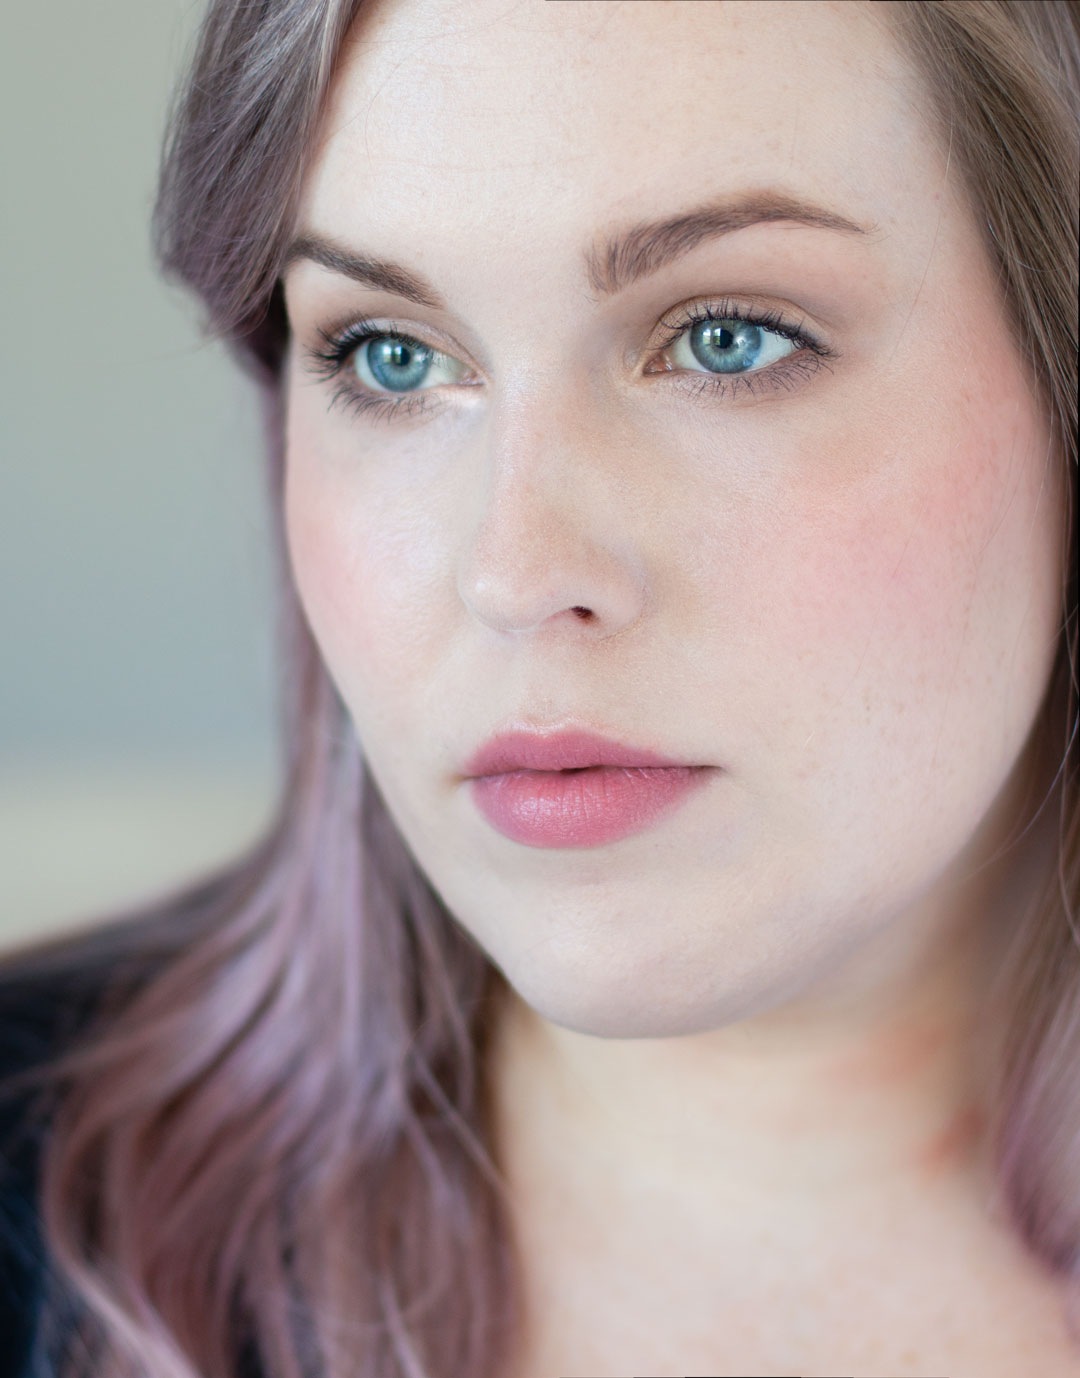
I did this look for a photoshoot about two years ago. It was a woodland fairy shoot and my model had pink fairy wings. This look is pretty easy to create and just takes a lot of blending. It's a very fun & colorful and would be appropriate for all ages. If you like this blog please follow me on Bloglovin and if you'd like to see how to create this colorful fairy Halloween makeup Tutorial just follow along.
Disclosure: This post not sponsored, some links below are affiliate links, and all opinions are my own
Start out with a base and brows on.
I am applying the lighter yellow color in the NARS Mediterranee Duo (shimmer, semi-sheer, yellow-gold duochrome) with a Mac 242 into the inner corner and over 2/3 of the lid. Blend this over the crease, as well.
Using the NARS Mediterranee Duo orange color (shimmer, orange), apply this to the outer third of the eye lid and blend upwards over the crease, also blending it under the outer third of the lower lash line as well. I use a Simga E45 for this step. Don't worry about the placement being perfect since this is a blended colorful look, so be creative.
Blend the orange out. I am using a Sigma E25 for this.
In the inner corner & up to the brow apply Mac Chrome Yellow (matte, bright yellow) with a Sigma E25.
Add some Makeup Forever I 340 (iridescent lime green) to the inner corner & also along the inner corner of the lower lash line. I use a Sigma E30 for this step.
Now we're going to put on a ton of blush. I am using a Makeup & Hair Addiction The Blusher brush and I'm starting out with Tarte Flushed.
Here I'm taking a brighter pink, Makeup Forever 75 (old formula), and concentrating it around my temples.
I now switched to a Sigma E25 to really give the cheeks a lot of pink. Applying this step can be sloppy since we'll be blending it later.
Using a blending brush, I am using a Sigma E25, and the orange color from the NARS Mediterranee Duo I'm blending this down into the pink.
Add more pink, keeping the most on the temple area.
Now switch to a clean brush (or clean the blush brush you're using) and blend out the pink.
Blend some of the pink down the sides of your neck as well.
I added a bit of liner for more definition. I am using Kat Von D Trooper liner.
Add mascara.
As you can see, lashes make a big difference! For this look I am using Elegant Lashes #97. I think this look is best with over-the-top big lashes.
Here the look with just top lashes applied.
Now I've added Ardell Knot Free lashes in medium and short. Two mediums and one small.
I've added highlighting on top of my brow, my nose and cupid's bow.
To finish off the look, I applied OCC Hoochie Lip Liner topped with Bite Beauty Cashmere Lip Cream in Moscato.
Products:
Face: MAKE UP FOR EVER Primer – 0
MAKE UP FOR EVER Mat Velvet - 20
Illamasqua Skin base – white
Light Reflecting Pressed Setting PowderPowder
NARS Radiant Creamy Concealer, Chantilly
NYX Cosmetics Dark Circle Concealer
NYX Matte Finish Setting Spray
MAC Lightscapade Mineralize Skinfinish
Blush:
Tarte Flush Blush
MAKE UP FOR EVER - 75 Blush
Eyes: MAKE UP FOR EVER I340
NARS Mediterranee Duo
Mac Eyeshadow in Chrome Yellow
Kat Von D Tattoo Liner Trooper
NARS Pro-Prime Smudge Proof Eyeshadow Base
Maybelline Full N Soft Mascara
Mac Chromaline in Black Black
Anastasia Clear Brow Gel

