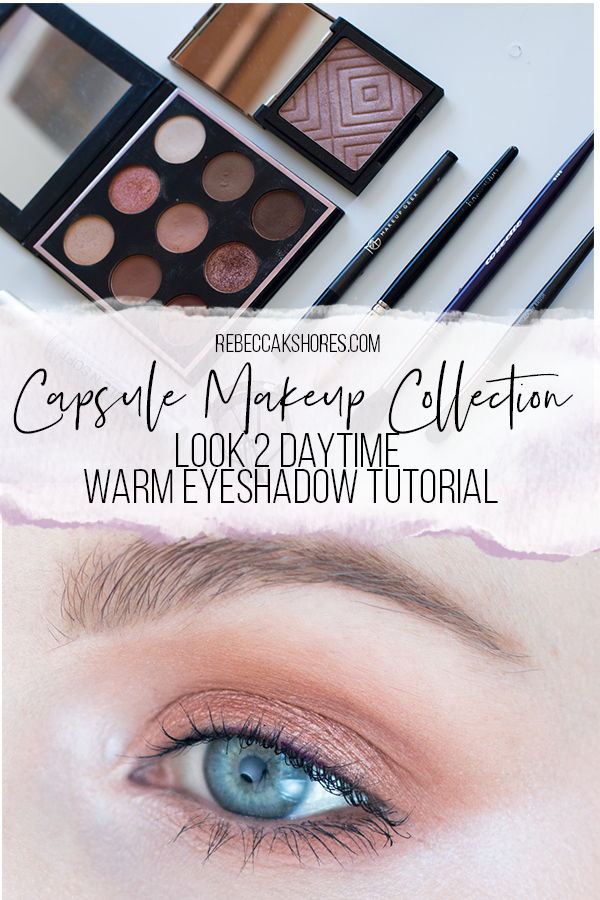
Daytime Warm Step-by-Step Eyeshadow Tutorial Capsule Makeup Collection
Daytime Warm Step-by-Step Eye shadow Tutorial Capsule Makeup Collection
Great for beginners, students, busy moms, those with hooded eyes, and anyone that likes quick and warm eye shadow looks.
This is the second look in my Capsule Makeup Collection series.
A warm eye shadow look, that is very flattering and soft. If you missed the previous look click here to read the Daytime Easy Step-by-Step Eye shadow Tutorial.
This step-by-step tutorial is for someone that wants a soft, warm look, that has to get ready quickly and doesn’t want to look overly glam. It’s also a great option for those with hooded eyes.
I’ll take you step by step showing you how I created this look. If you haven’t already, don’t forget to enter the giveaway if you want to win the products used! Details in this post!
Disclosure: Some of the links in this post are affiliate links and if you click them to make a purchase I will earn a small commission. I only link to companies and products that I enjoy and would recommend to you. The decision is yours, and whether or not you decide to buy something is completely up to you and thank you if you do use my links and help support me and my blog. This post contains products sent to me for consideration (PR) free of charge from the brand.
Let get onto the tutorial!
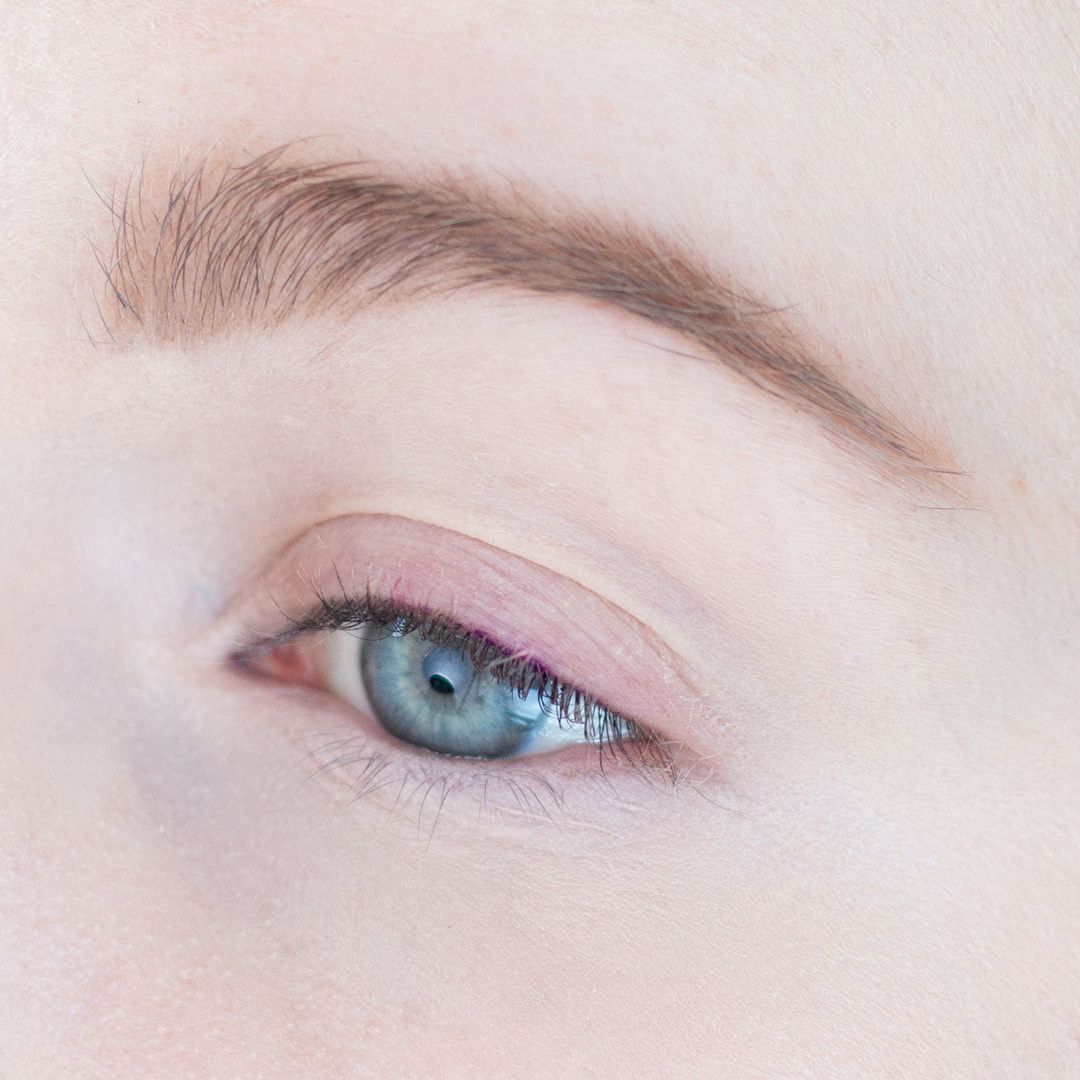
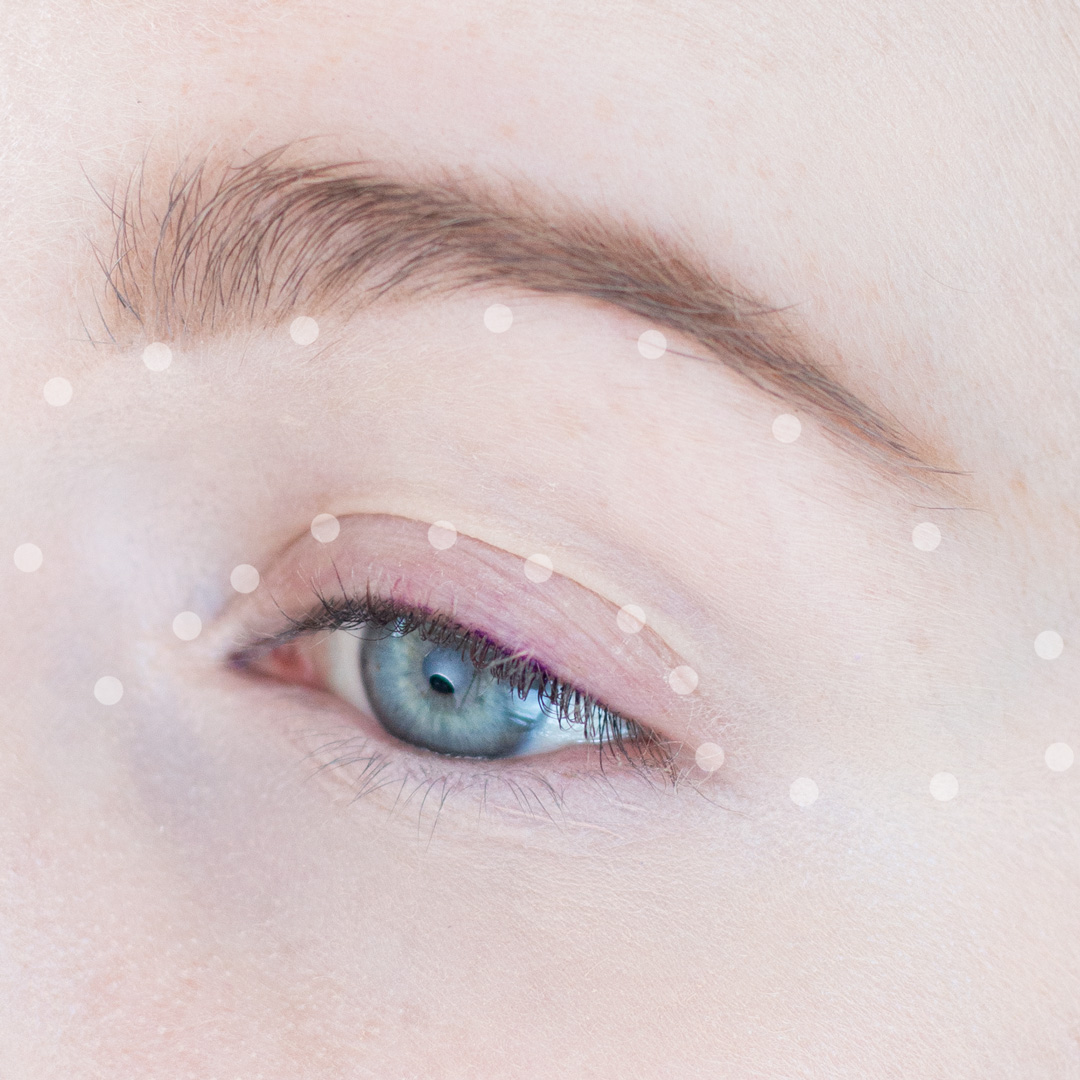
Start of with priming your eyes! I am using the Smashbox 24 hour Photo Finish Eye Primer.
Use So Pale (off white warm cream, matte) from the In The Nude by Makeup Geek as a base shadow. Apply the eye shadow from the crease and blend up to the brow. I am using a S165 Cozzette brush to apply.
I am using a Cozzette S175 to apply Buffed (mid-toned peach brown, matte) from the In The Nude by Makeup Geek palette. Create a angled shape by blending Buffed towards the tail of the brow (if you have round eyes you can create more of a rounded shape if desired).
Tip: You want this transitional shade to blend nicely into your skin. Hold your brush further down the handle to help with blending.
This is my favorite lid color.
Apply Grandstand (a medium warm tan with an almost pink undertone, foiled) from the In The Nude by Makeup Geek palette with either a clean finger or a packing brush. I am using the Makeup Geek Foiled Shadow Brush to apply with patting motions.
This shadow can be really intense, so you have the option of applying a little and blending for a softer look or apply it heavy for a super metallic lid.
Using a smaller brush this time apply Tan Lines (mid-toned warm brown, matte) from the In The Nude by Makeup Geek palette along the orbital bone and along the lower lash line. I am using a D220 by Cozzette to apply and using back and forth motions.
Since this is a daytime look and we want to look bright eyed and awake.
Mix Makeup Geek Luster highlighter with So Pale from the In The Nude by Makeup Geek and apply with patting motions to the inner corner. If you have a deeper skin tone (medium and deeper) use Luster alone.
Curl your lashes and apply some mascara. I am using Maybelline Full N Soft Waterproof mascara.
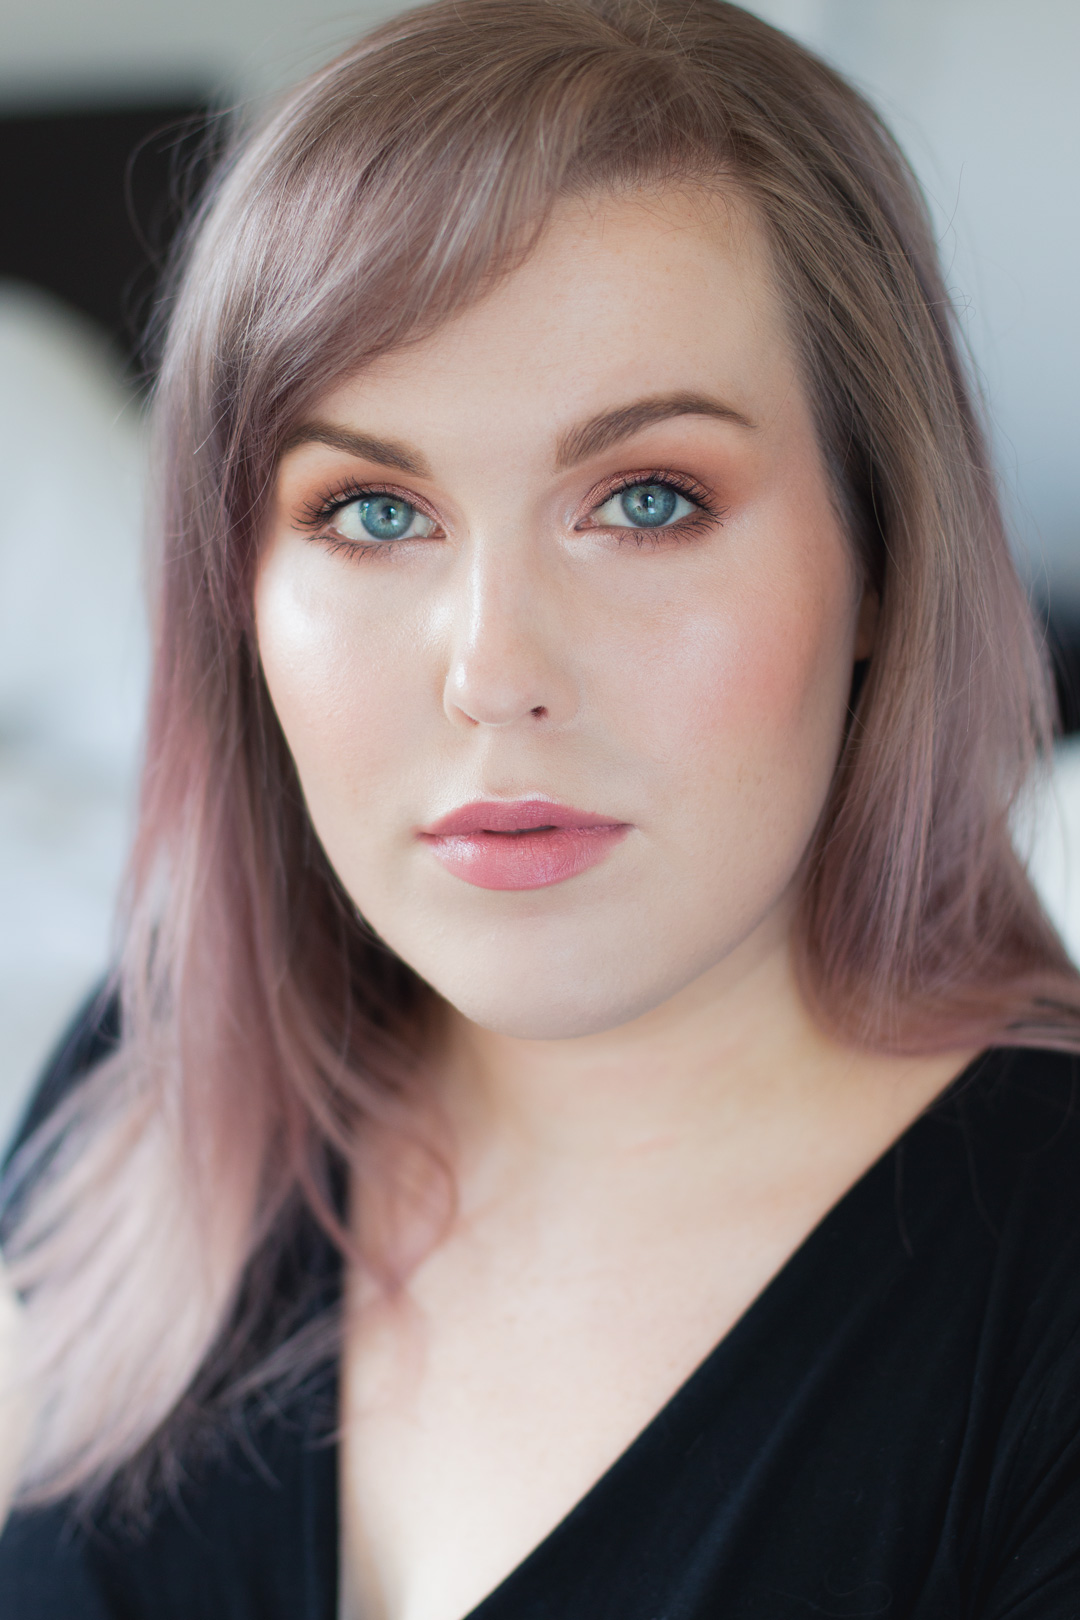
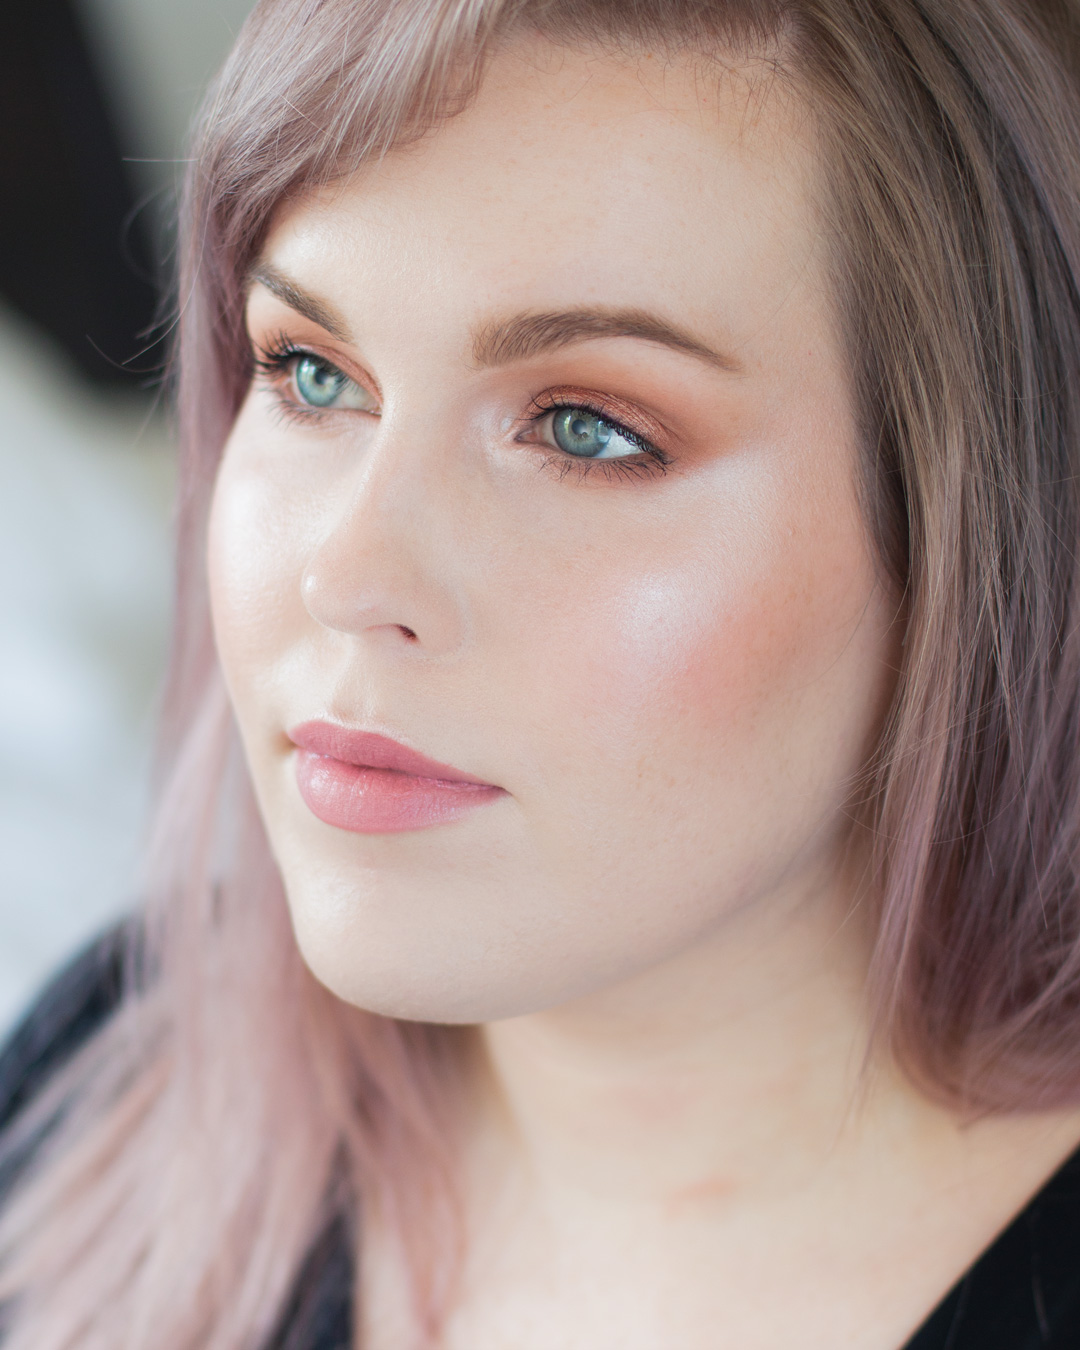
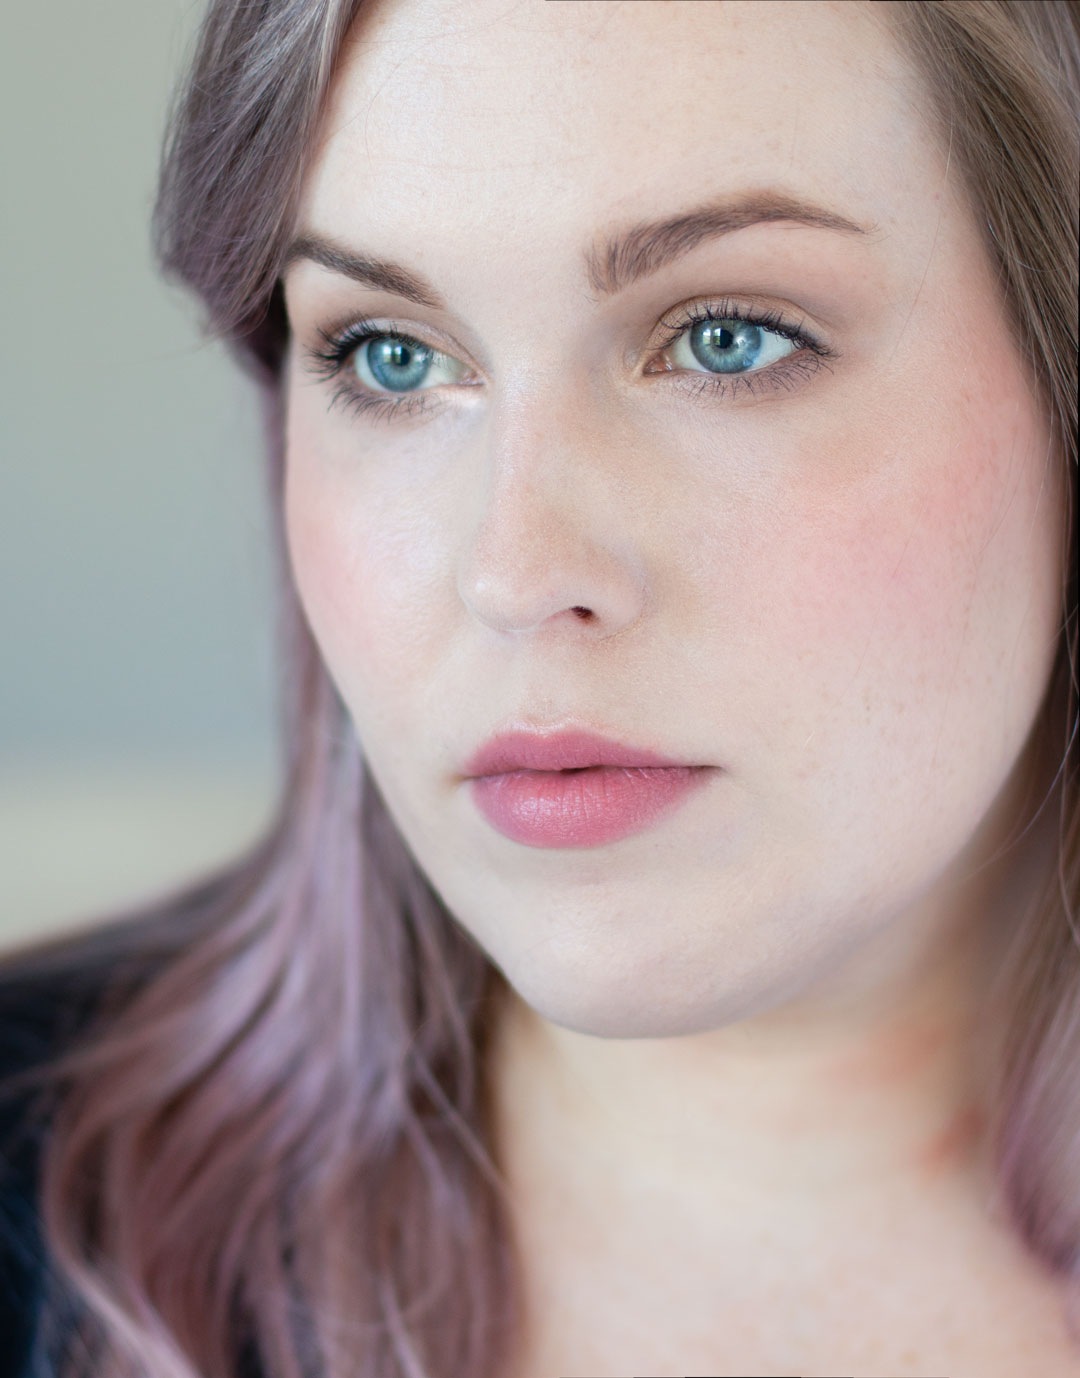
Here is the finished look!
A sheer bit of Cinema Secrets 601 foundation all over with Make Up For Ever Ultra HD in 12 concealer and Pixi Brightening Peach to hide under eye darkness.
I finished the look off with Urban Decay Naked lipstick applied normally (rather than the soft look in the Daytime Easy Step-by-Step Eye shadow Tutorial). I am also wearing Makeup Geek Spellbound and Makeup Geek Cherish. I apply Spellbound towards the front of the my face and Cherish up along my cheekbone tot my temples. Highlight the highest points of your face with Makeup Geek Luster and finish with the Urban Decay All Nighter Setting Spray.
Don’t forget to enter the giveaway! I hope you enjoyed this makeup tutorial and that you found it helpful. This is the second of five looks total for this Capsule Makeup Collection series.
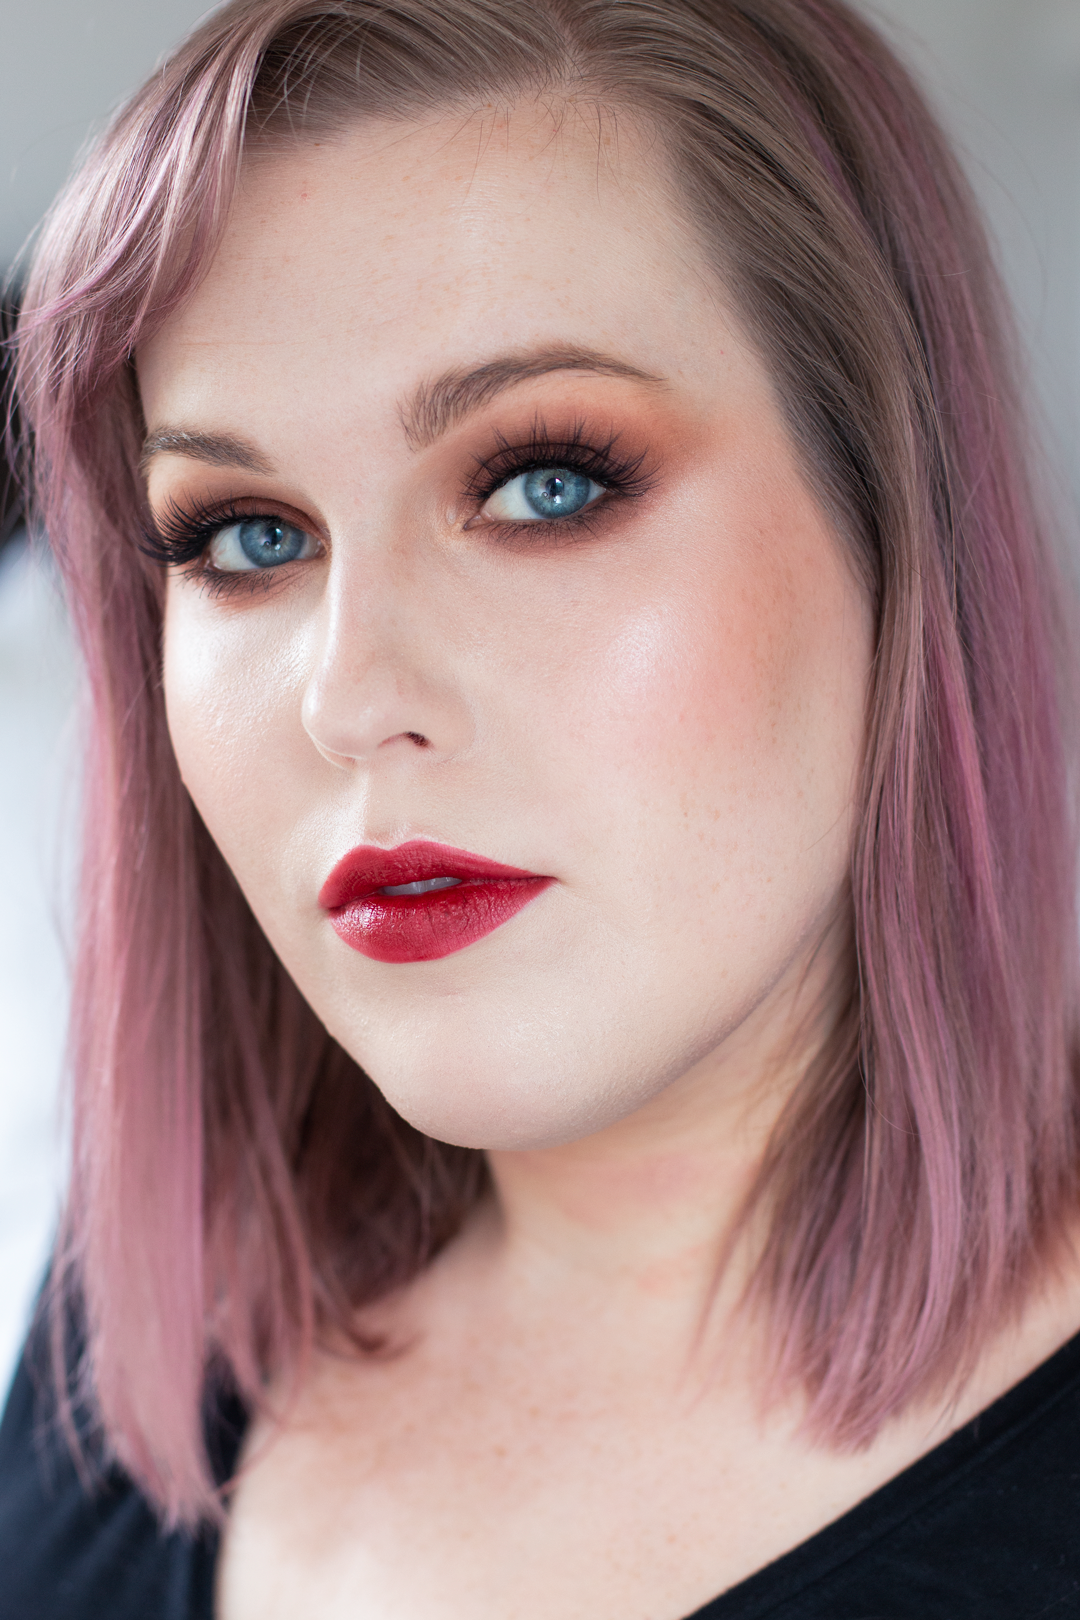
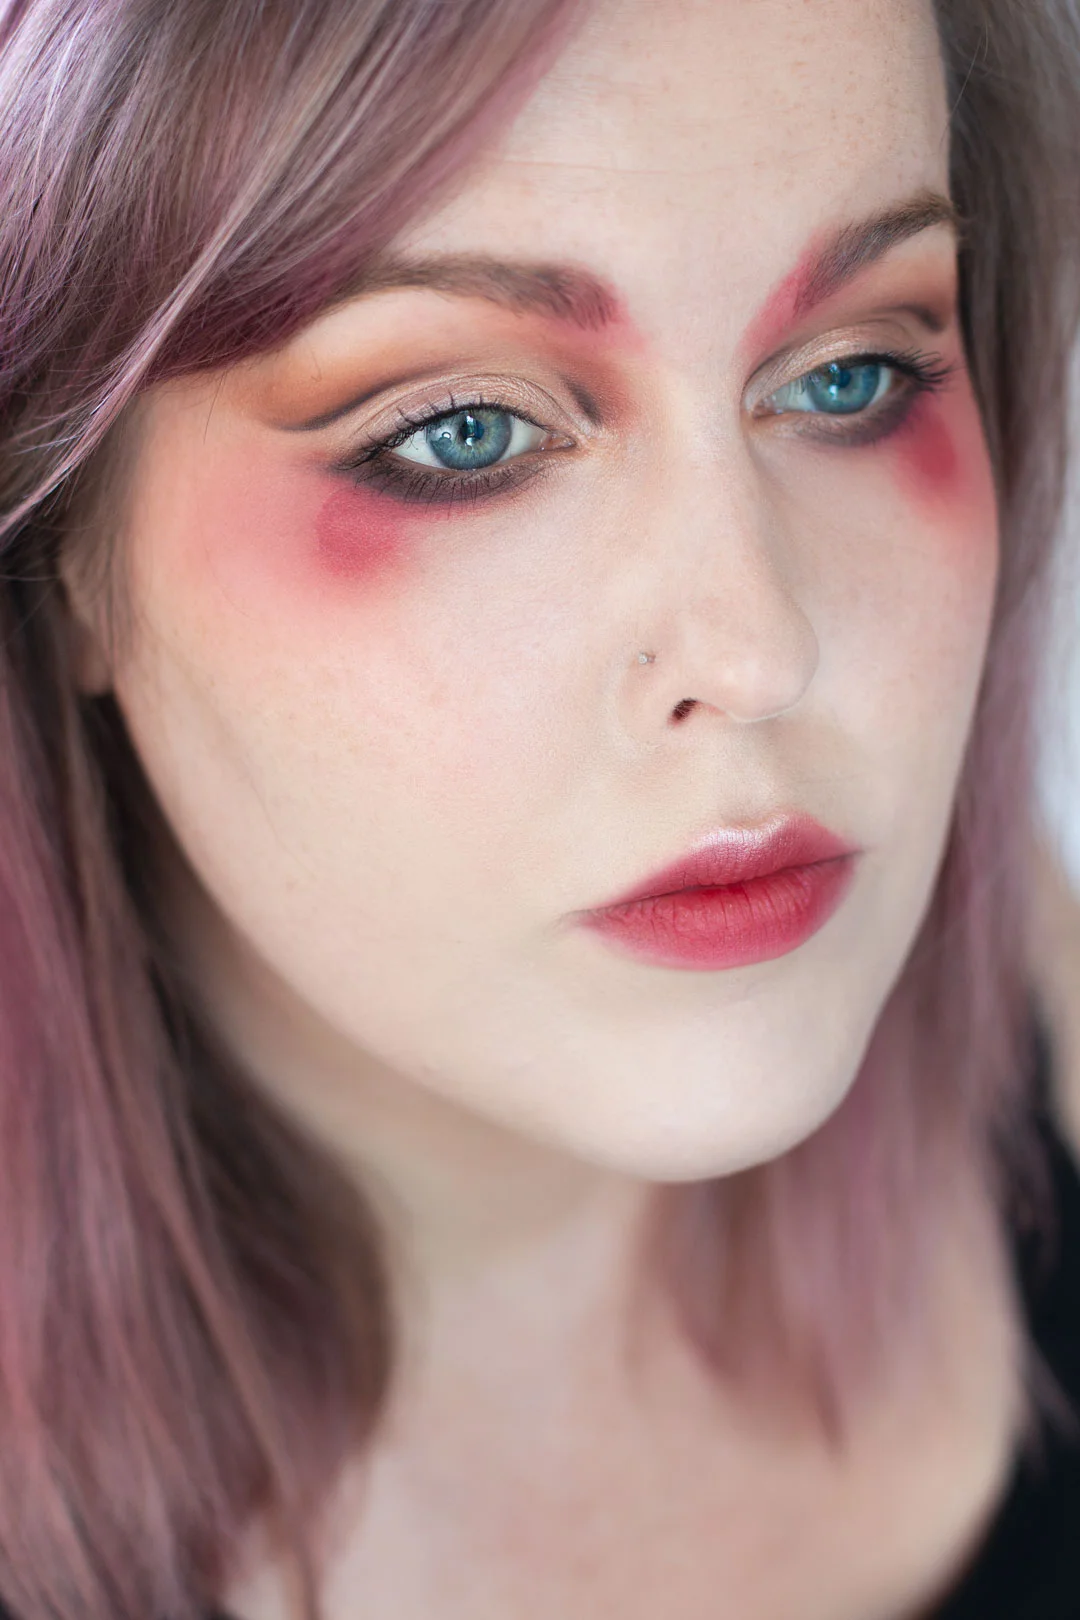
Let me know if you like this Capsule Makeup Collection series and if there’s another capsule option you’d like to see. Maybe a colorful capsule, or all drugstore? let me know in the comments!
-Rebecca

