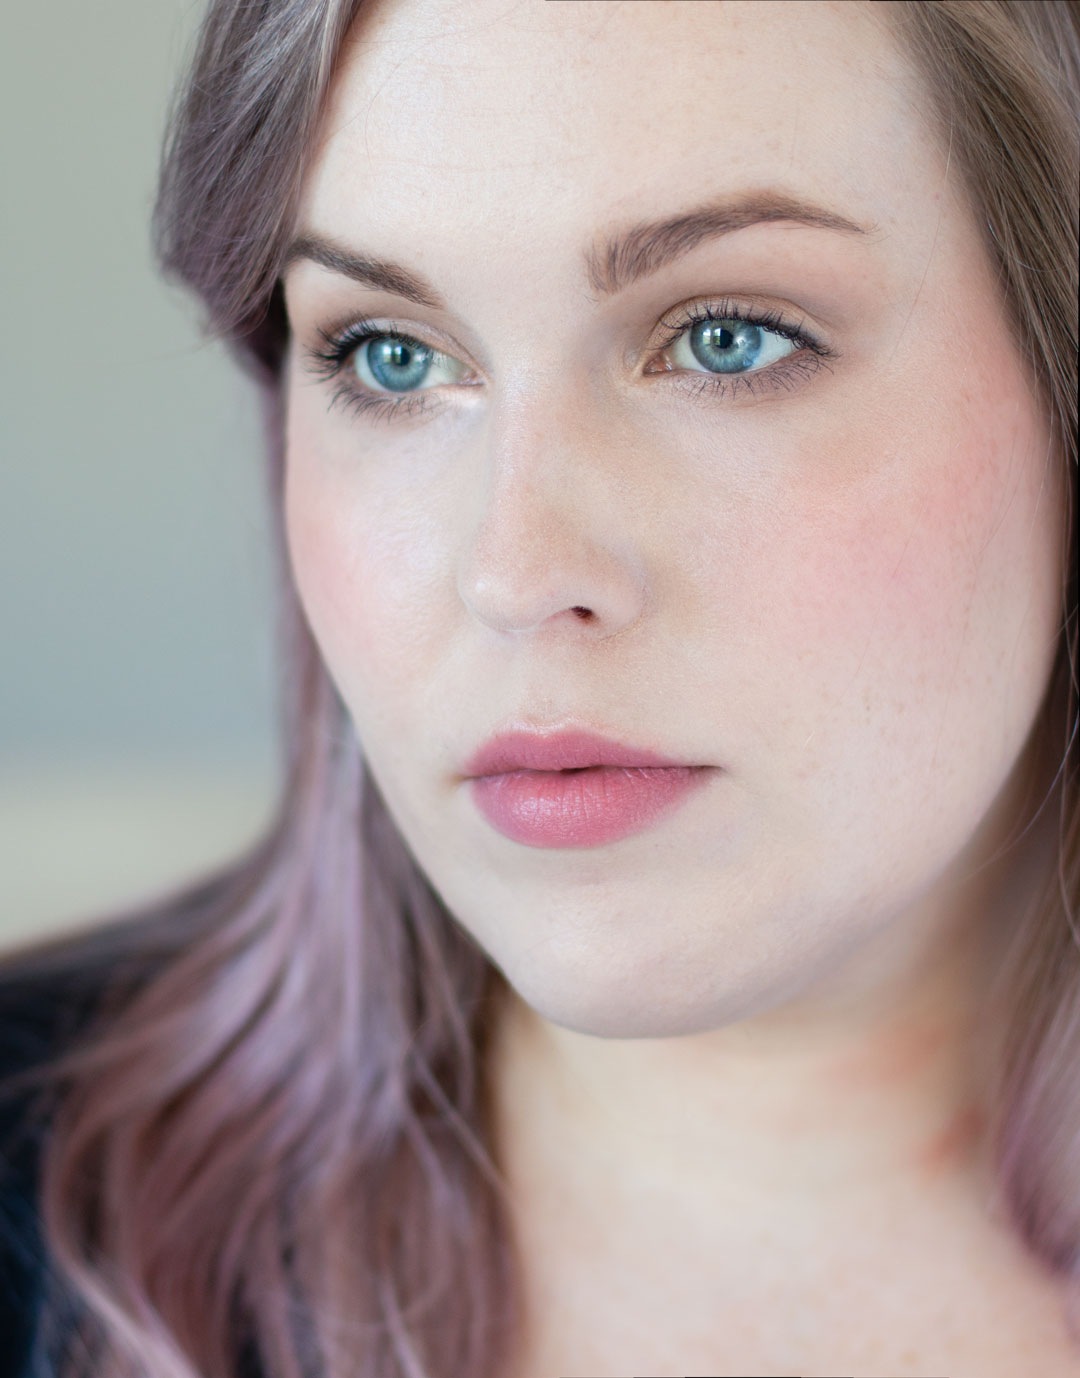
Step-by-Step Soft Smoky Liner Glamorous Eye shadow Tutorial │ Capsule Makeup Collection
Step-by-Step Soft Smoky Liner Glamorous Eye shadow Tutorial
Capsule Makeup Collection
Today’s tutorial is the second evening look and fourth makeup how to tutorial in my Capsule Makeup Collection series. If you missed the last Night out Warm Glam tutorial, click here to check it out.
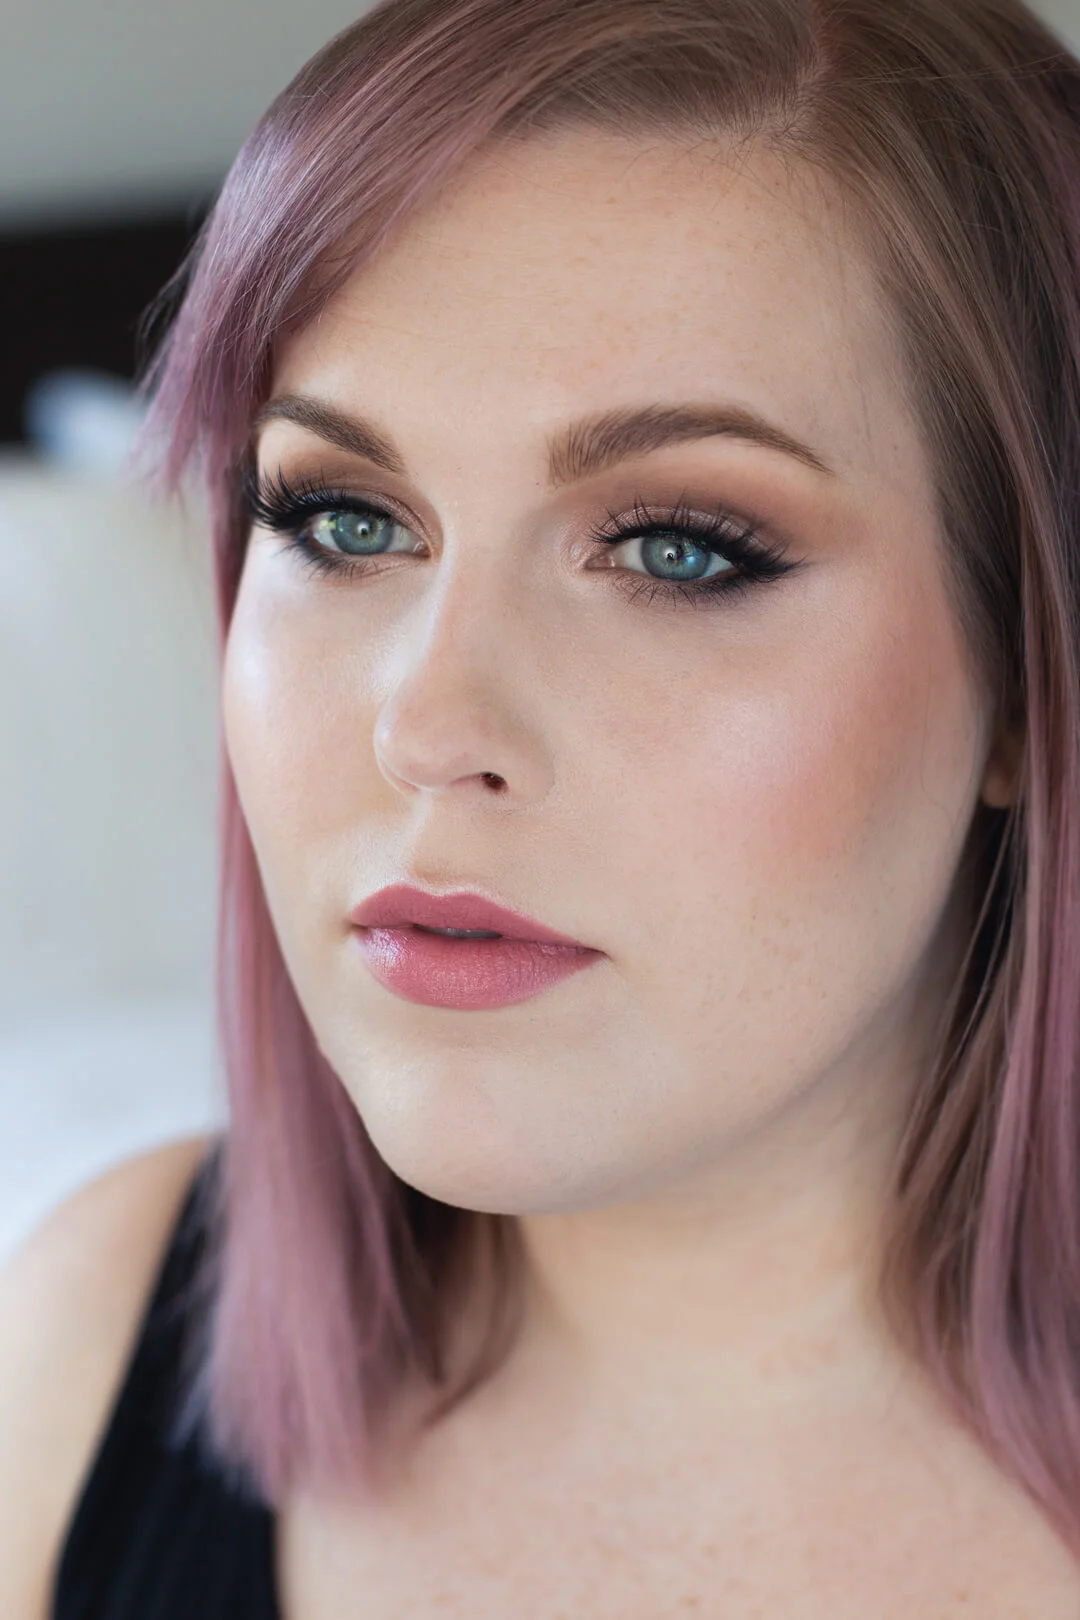
This Step-by-Step Soft Smoky Liner Glamorous Eye shadow Tutorial will be on the cooler side of things. You can always switch it up to the warm side too if you find those tones more flattering.
This eye shadow look can be altered to fit all eye shapes, yet will really flatter rounder eyes or those with more lid space and larger and predominate eyes. I have hooded, small eyes, so you can still make it work for other eye shapes.
I imagine this is for the person that is going out for the night at a classier establishment, maybe wine tasting, great for weddings, and something I’d wear during the day too. Flattering on rounder and larger eyes, but anyone can wear it. Smoky liners are one of my personal favorite looks, so I still wear them from time to time, but the previous look is a look that is better suited without alterations for my eye shape.
Make sure to enter the giveaway if you want to win some of the the products used! Details in this post!
Disclosure: Some of the links in this post are affiliate links and if you click them to make a purchase I will earn a small commission. I only link to companies and products that I enjoy and would recommend to you. The decision is yours, and whether or not you decide to buy something is completely up to you and thank you if you do use my links and help support me and my blog. This post contains products sent to me for consideration (PR) free of charge from the brand.
Let’s Get Started!
I am doing a bit more of a structured brow for this look. I am using Benefit CosmeticsGimme Brow+ Volumizing Eyebrow Gel through my brows for volume and then a few flicks of Precisely, My Brow Pencil Ultra-Fine Shape & Define by Benefit as well.
Now that you’ve got some structured brows, let’s prime!
I am using Smashbox 24 hour Photo Finish Eye Primer and using my finger to blend it all over the lid.
Then using So Pale (off white warm cream, matte) from the In The Nude by Makeup Geek. Apply the eye shadow from the crease and blend up to the brow to add a base to blend on. I am using a S165 Cozzette brush to apply.
Instead of an eye shadow I am using Makeup Geek Luster highlighter applied with a Mac 242 to the mobile lid. When using a limited amount of products, get creative and see what can do double duty.
I am using a Cozzette S175 to apply Buffed (mid-toned peach brown, matte) from the In The Nude by Makeup Geek palette. Create a angled shape by blending Buffed towards the tail of the brow . This elongated shape will really flatter the liner we’ll be adding.
Tip: Think about the angle of your liner now and have the angle of the transition be the same. For example, I have to wear eyeliner going out from my eyes, white those with more lid space and/or upturned eyes can angle their liner upwards.
Switch to a maller brush this time I am using a D220 by Cozzette. Apply Creased (mid-toned taupe brown, matte) from the In The Nude by Makeup Geek palette along the orbital bone and continuing almost to the brow.
Also add some along the lower lash line. Apply and using back and forth motions.
Apply Dark Roast (matte, deep chocolate brown) from the In The Nude by Makeup Geek with a small brush along the outer two thirds of the lower lash line and also just along the crease of the eye to add depth. I am using a Cozette S185 to apply.
Also add some winged liner. I am using Makeup Geek Black Eye Liner and lining the top lid and then taking some of the product onto an angled liner brush to create a wing.
Tip: If you have hooded eyes, apply over your actual crease to still at depth and not have the hood cover the shadow. If you have deep set eyes that are not hooded skip this step. You already have natural definition here and do not need to deepened the shadow already cast by the orbital bone.
Smudge that liner!
I am using Hakuhodo brush to blend out the liner. The Makeup Geek Black Eye Liner is nice and creamy so work quickly and blend that out. Then take more of the Dark Roast shadow and blend it over the top and a bit above the eye liner. This gives a gorgeous soft look to the liner.
Pop a bit of So Pale from the In The Nude by Makeup Geek and apply with patting motions to the inner corner.
Curl your lashes and apply some mascara. I am using Maybelline Full N Soft Waterproof mascara.
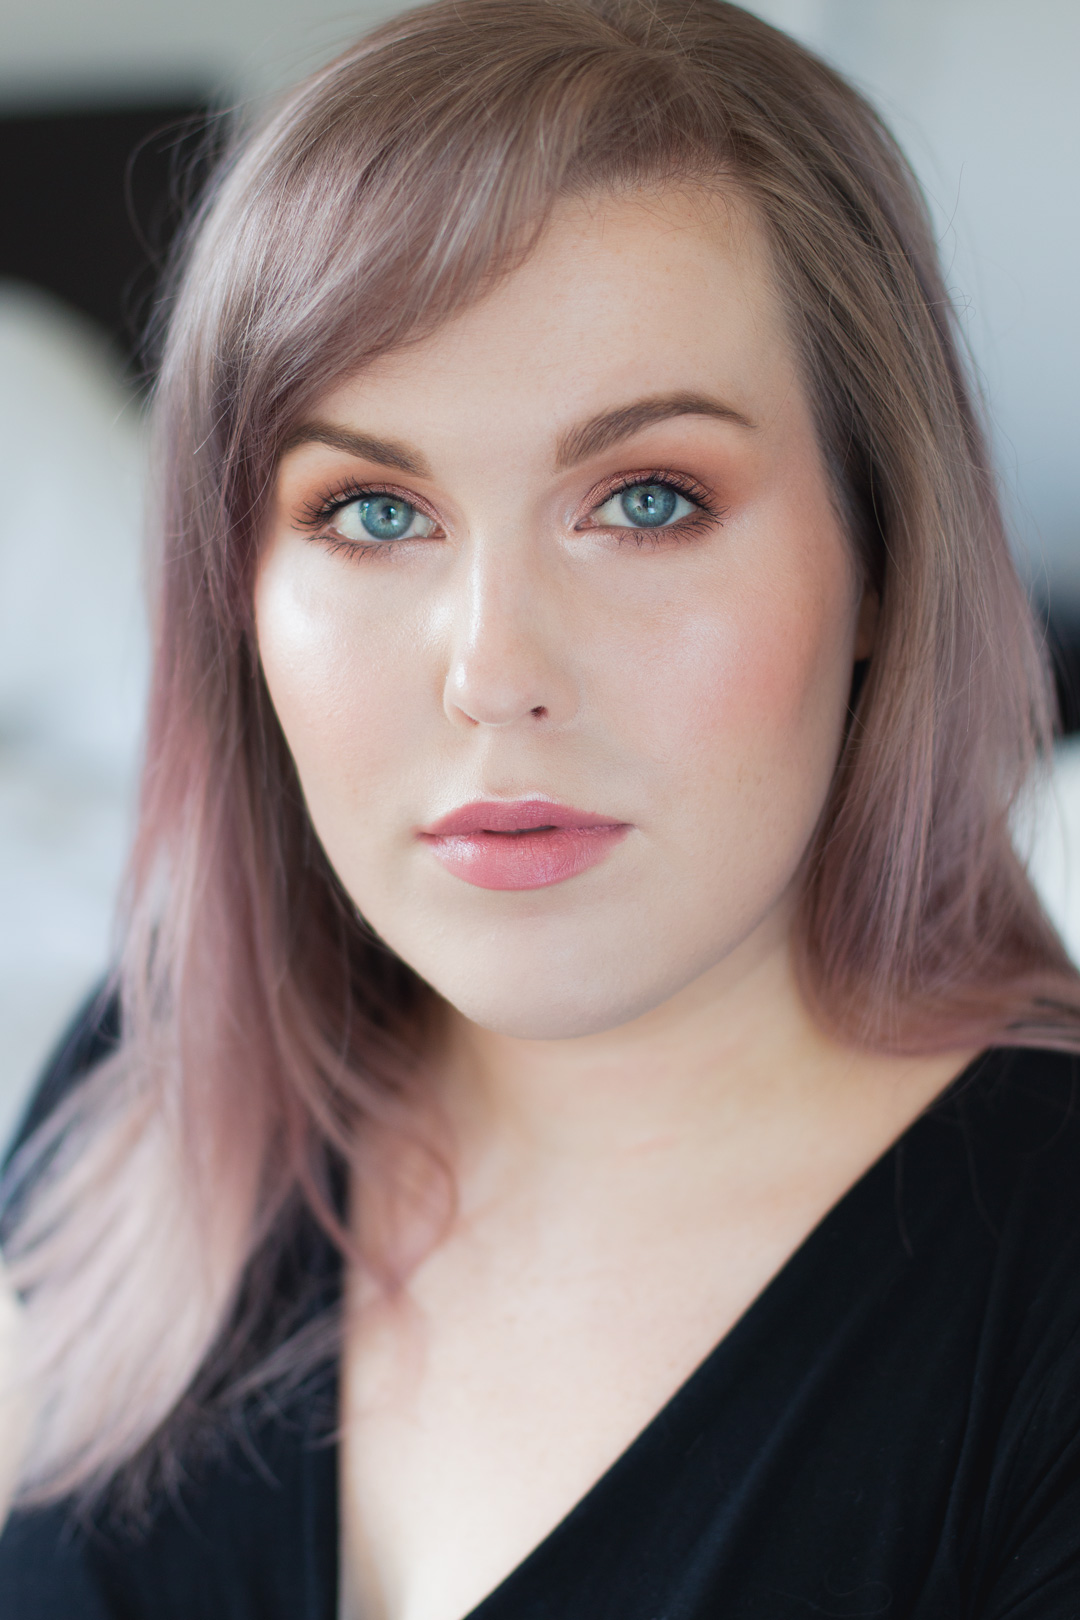
I think this look since the liner is soft looks great with just mascara alone. I’ll show you how it looks with lashes later on.
Soft eyes, soft lips.
I am applying Urban Decay Naked to my lips following my natural lip line. I am using a Smith 302 lip brush to apply.
Apply Makeup Geek Spellbound blush to your cheek bones blending into the temples. I am using a Cozzette S130 to apply with light circular motions. I apply the most saturated color directly below my iris if looking straight ahead.
Apply the Makeup Geek Luster highlighter to the high points of your face. I am using a Hakuhodo brush to apply. I like to use small circular motions to apply highlights, especially intense ones like Luster.
Here’s an example of an alteration you could do!
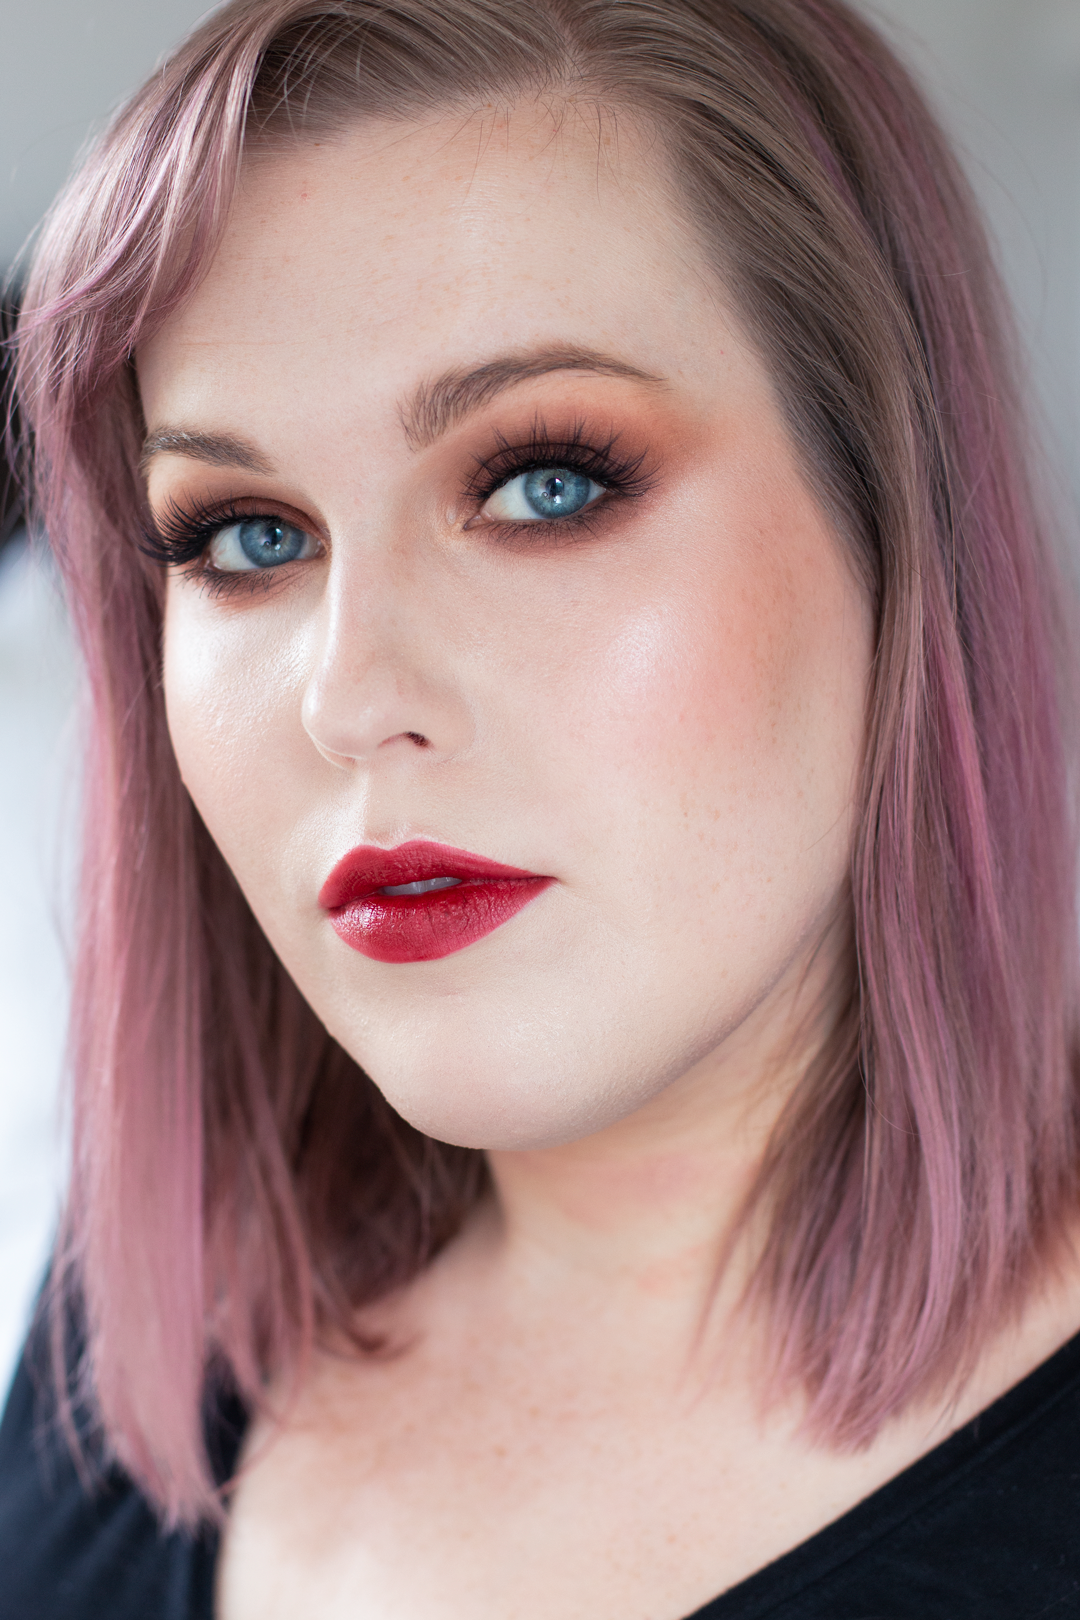
I added House of Lashes Iconic Light lashes and I added Butter London Fired Up to the Pinky Nude of Urban Decay Naked to create this dusty red color.
Here’s how it looks altogether.
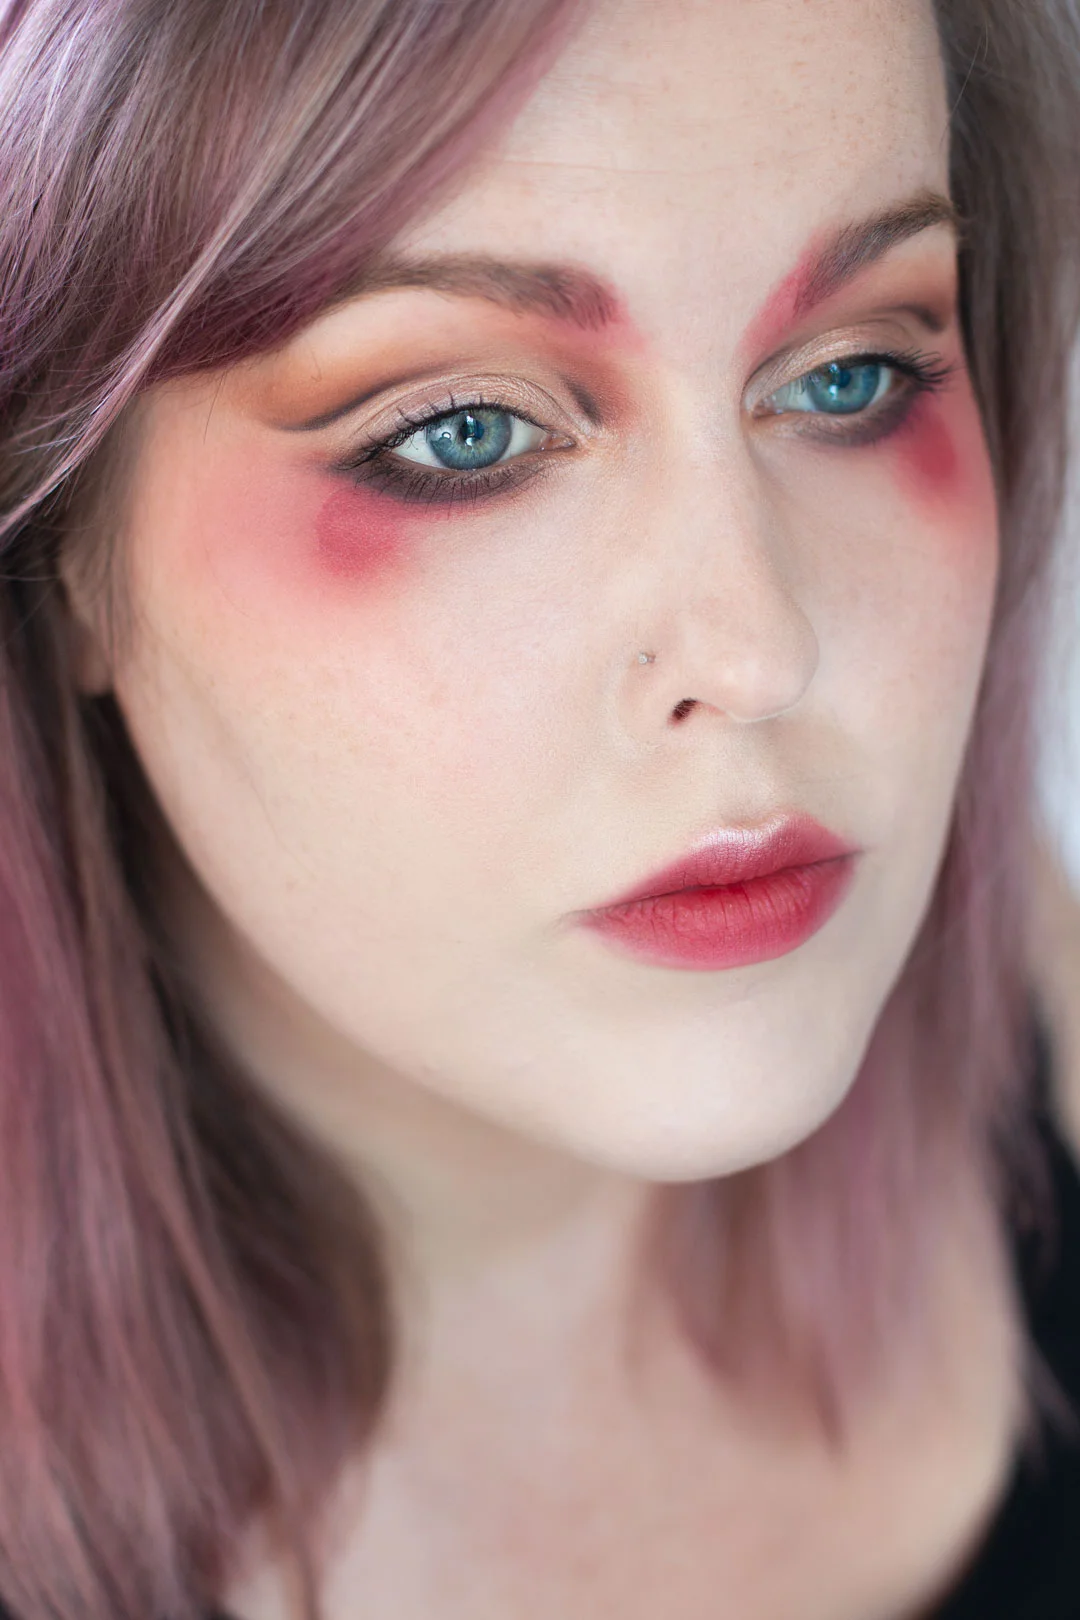
Which of the three versions of the look do you like best? One, just mascara and soft lips, two, lashes and soft pink lips or three, really upped the eyes and lips?
I am wearing items from my capsule makeup collection. Check this post to see what 15 items I am using for all five of these tutorials. My Foundation is Cinema Secrets 601 I am wearing a light amount for this look. My concealer is Make Up For Ever Ultra HD in 12 applied under eyes and around nose, with Pixi Brightening Peach to help with under eye darkness. I finish all my looks with Urban Decay All Nighter Setting Spray to keep my makeup looking fresh all day.
I hope you liked this look, it’s one ofmy favorite looks for a date night or if we’re going out wine tasting or the like. It looks gorgous in dim lighting too. I’ve also done a softer version of this for bridals before too.
I hope this step-by-step tutorial was one you feel like you can wear and follow along. Keep an eye out and sign up for my newsletter so you don’t miss next weeks tutorial. It’ll be the last one! If you want to win some of the items I am using click here to enter my giveaway, the winner will be announced on Monday!
Best,
Rebecca

