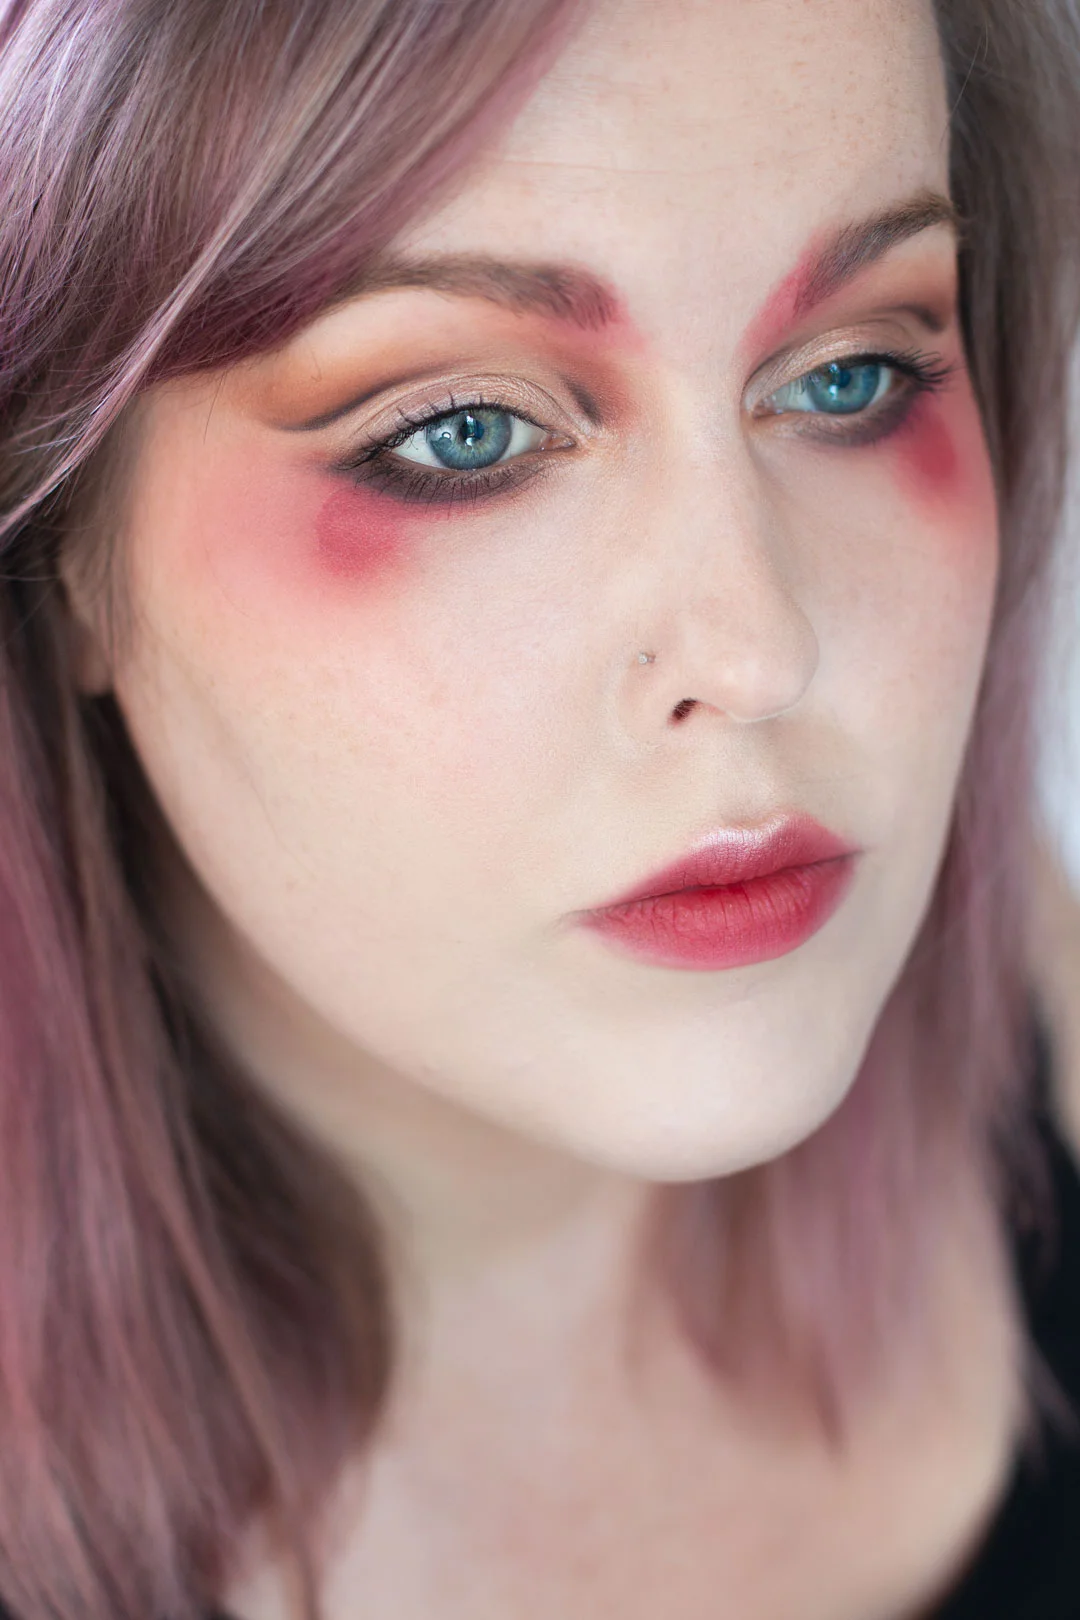
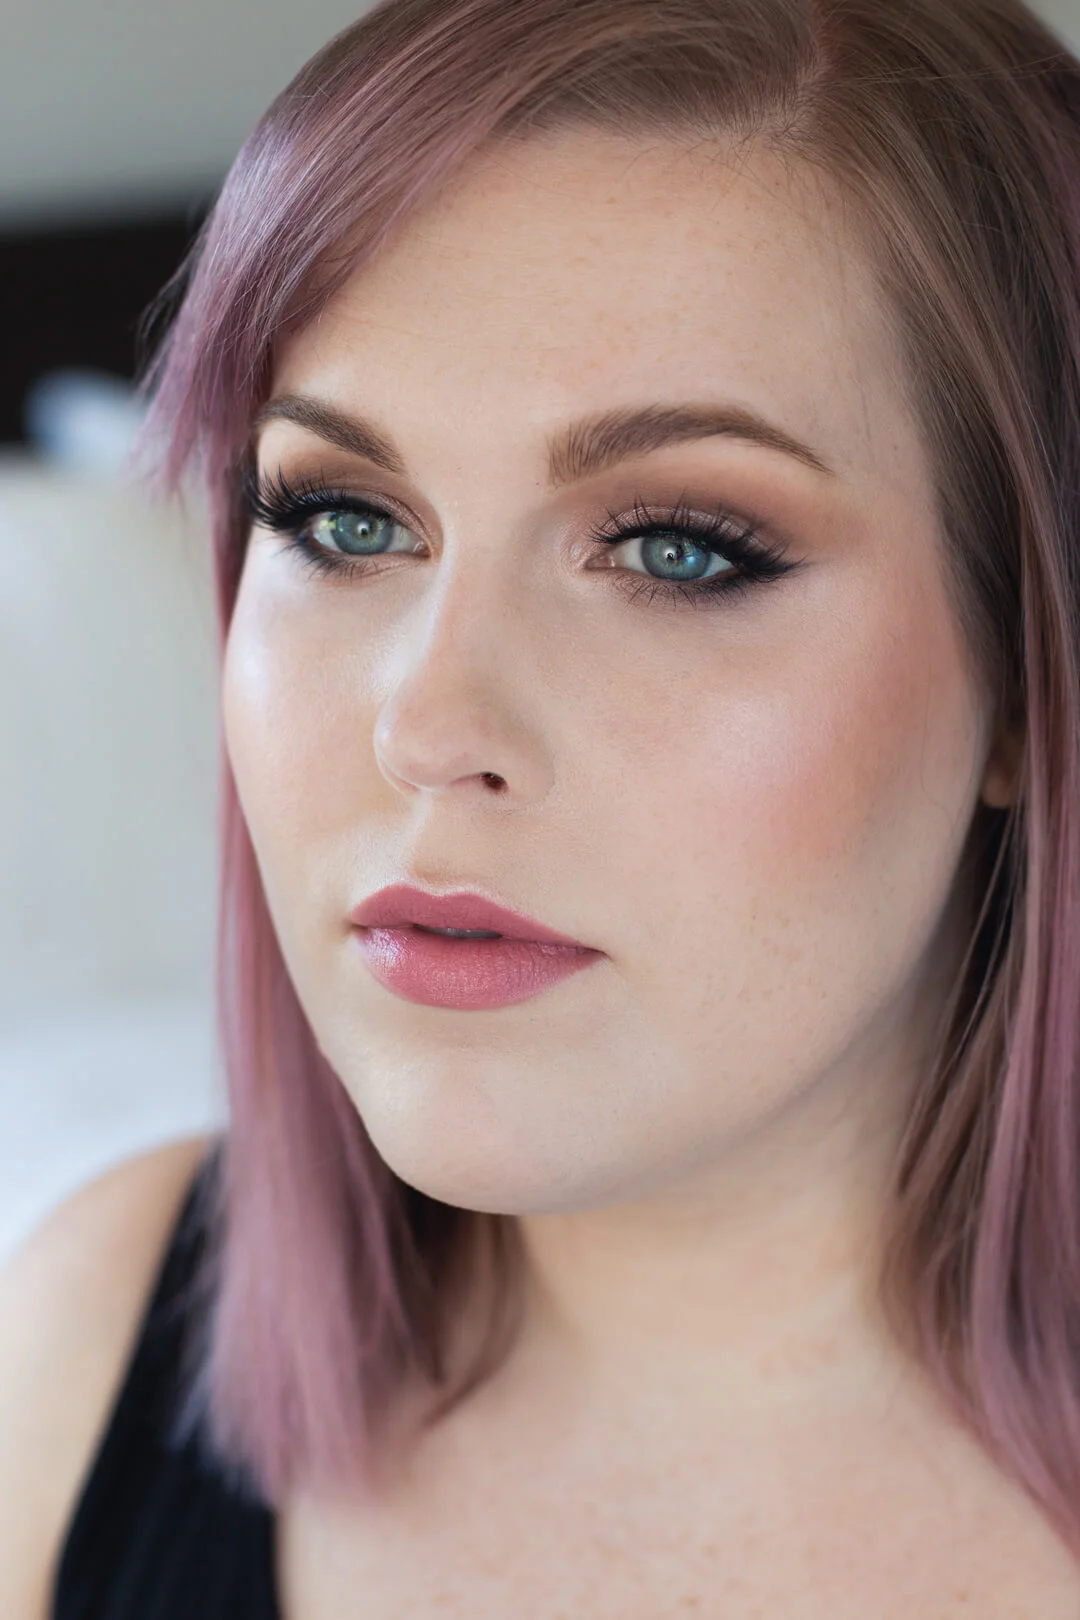
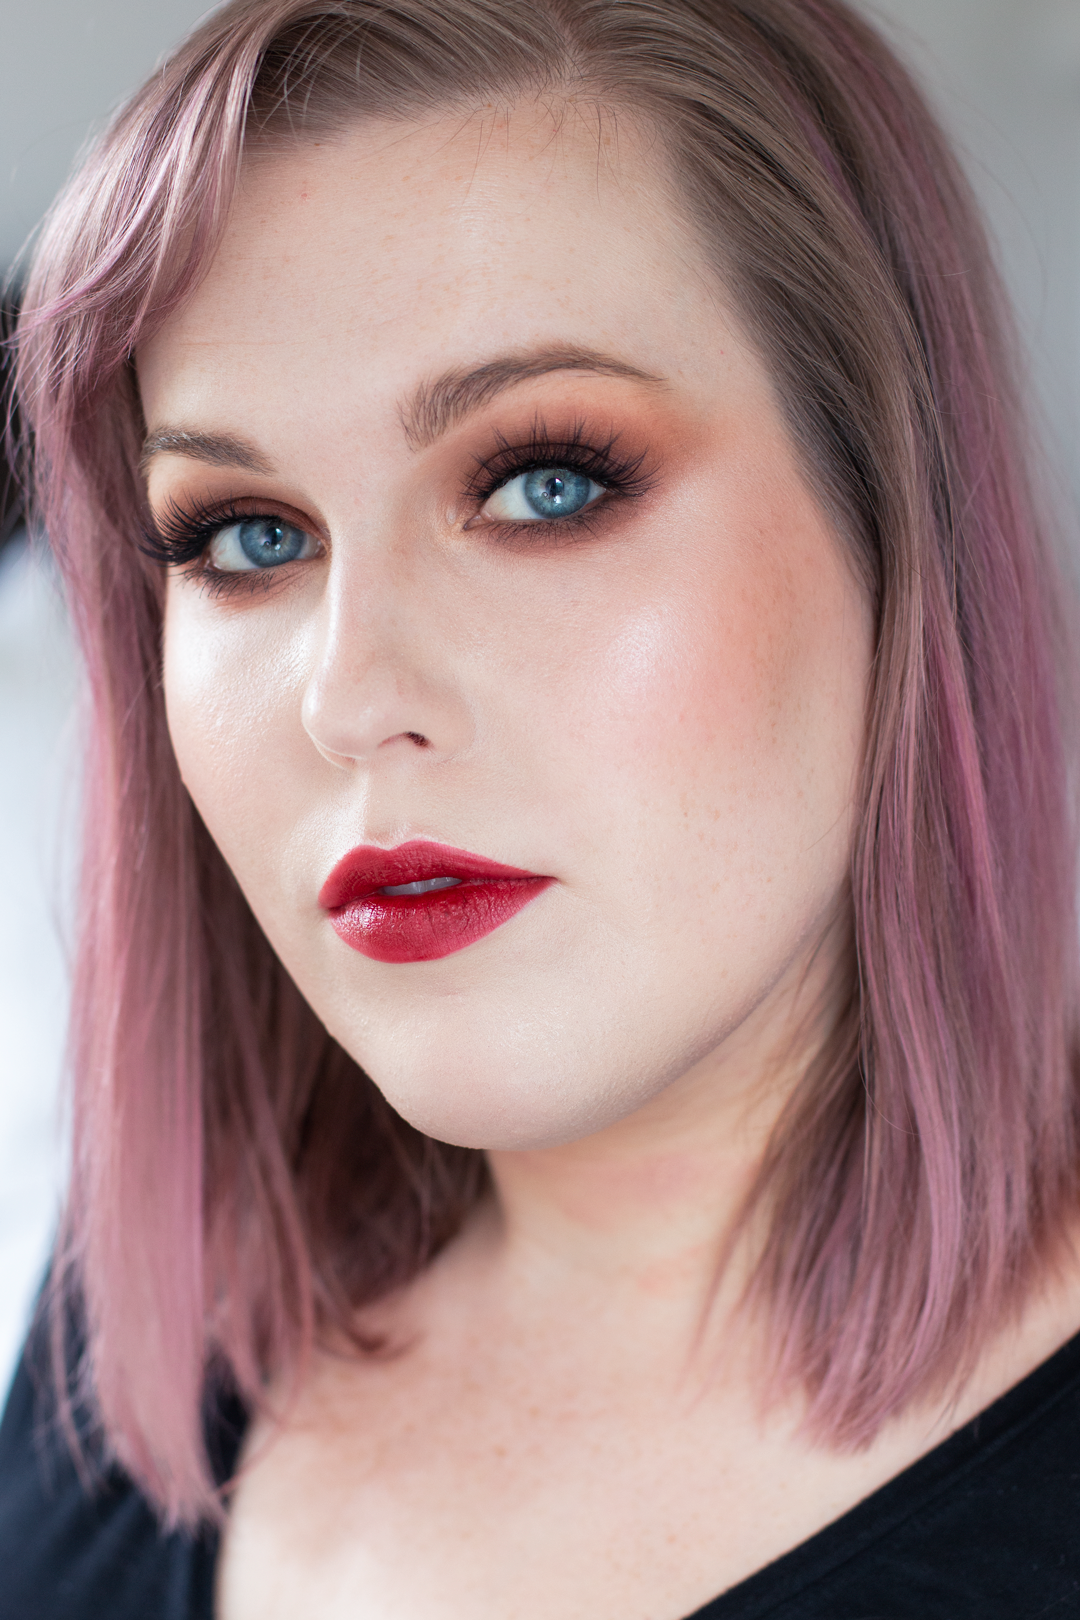
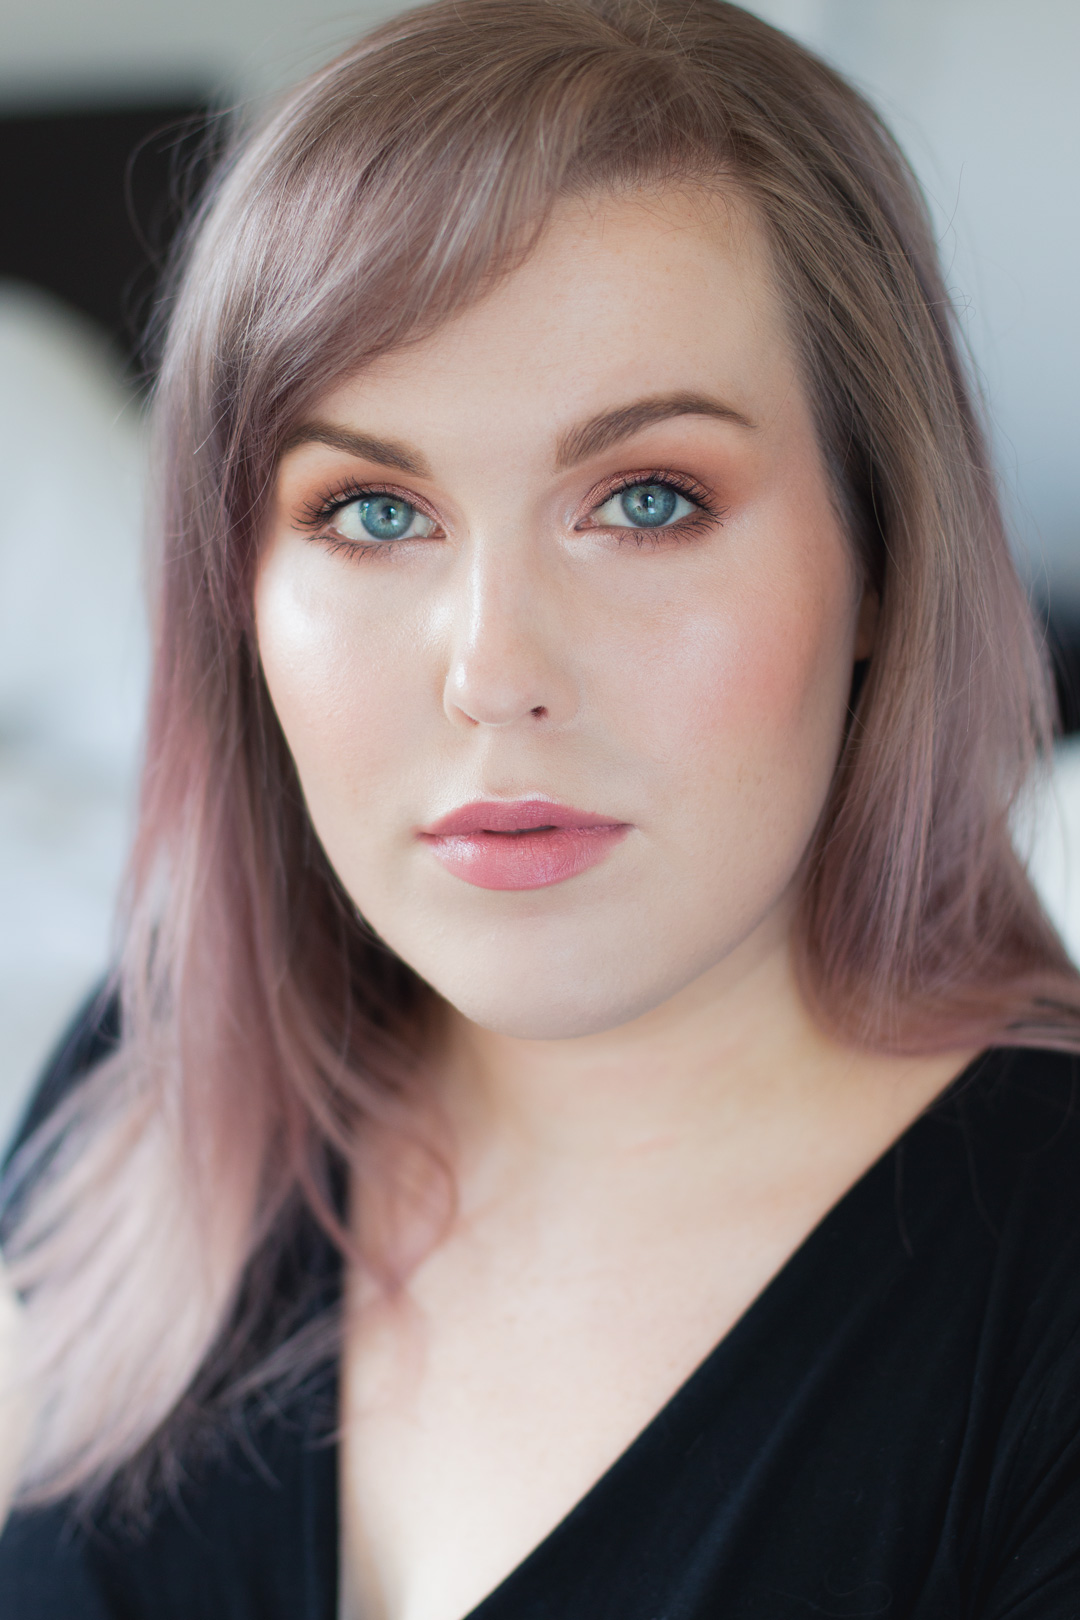
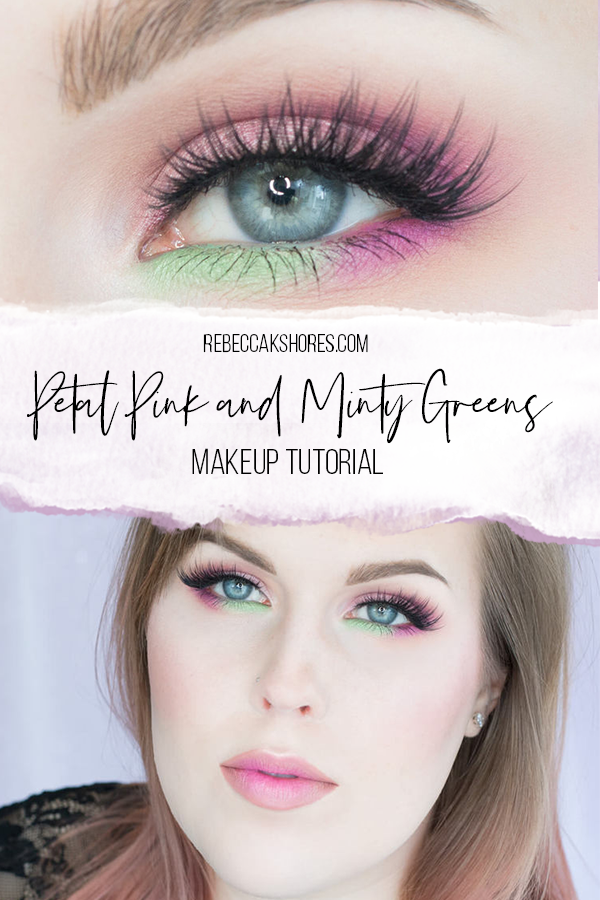
Petal Pink and Minty Greens Makeup Tutorial
Pinks and greens |#100daysofmakeup Day 23
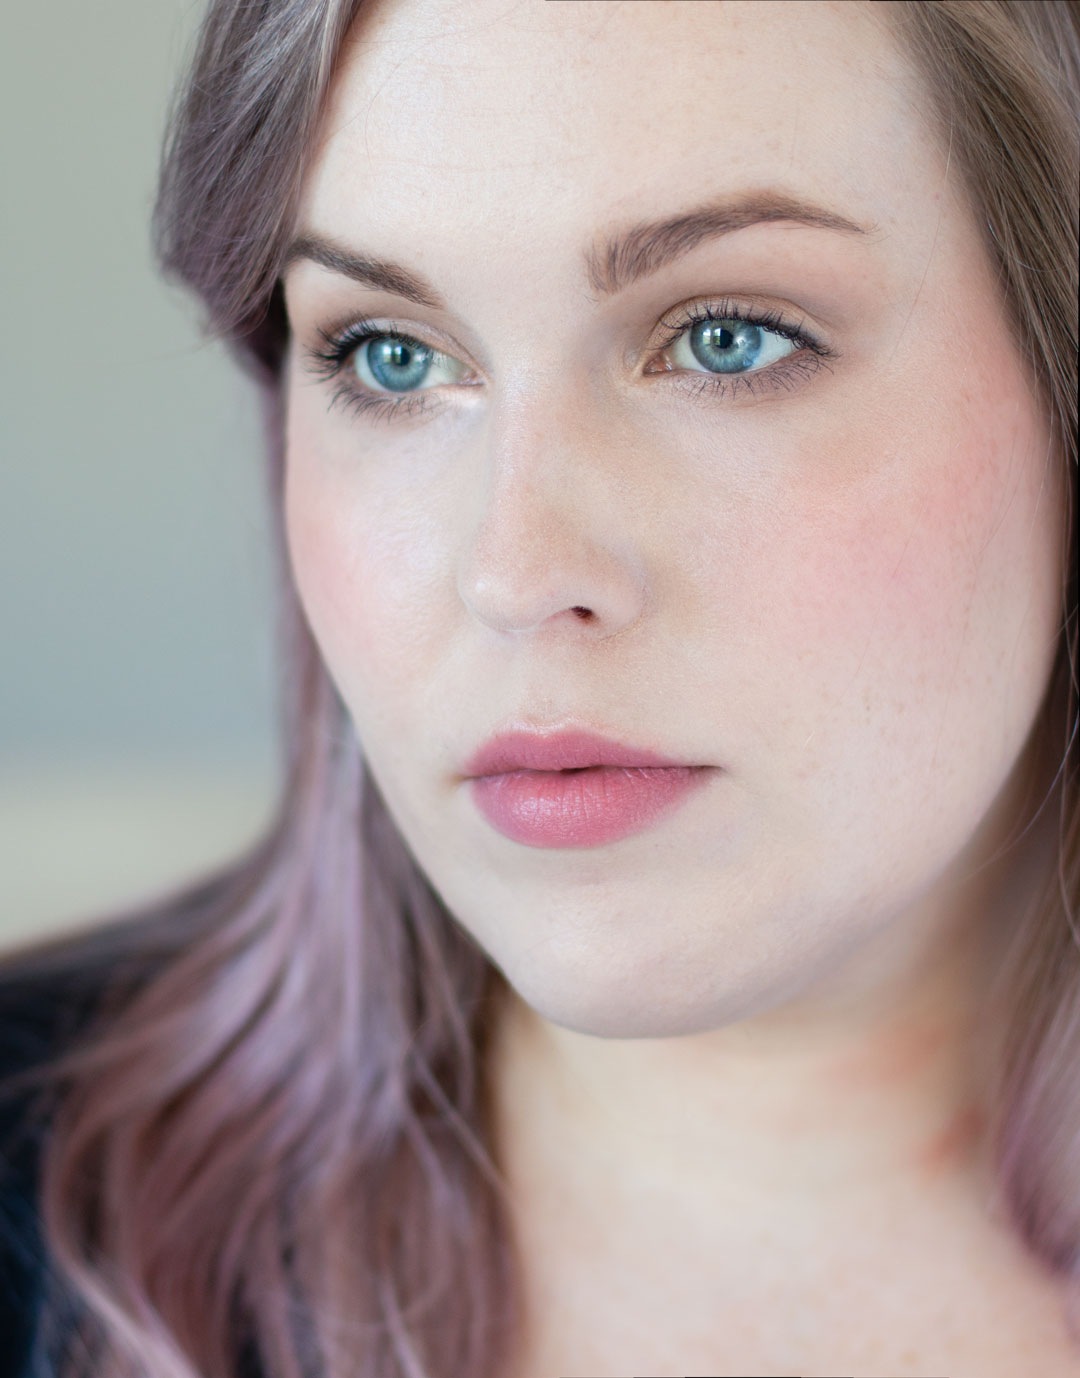
Hey guys! We're throwing it back to my beggining blogging days. I used to do photo totorials all the time, and now I've mostly swtiched over to video tutorial on YouTube only. I used to use a tripod my dad let me use that was his from decades ago, but I got a Manfrotto 290 Light Tripod recently and it makes filming and taking photos so much easier, plus I now process photos in Lightroom. Overall, it's much easier for me to create photo + text tutorials, so if you'd like to see more let me know in the comments. We're going to start off the restart of picture tutorials with a minty green and petal pink look.
Disclosure: This post not sponsored, some links below are affiliate links, and all opinions are my own
What you'll need
Here are the tools and products we'll be using for this tutorial! Either grab the exact product or find something similar that you already own.
Let's get going with the tutorial
Step 1
To start of this look you want to prime your eyes, I am using the Smashbox 24 Hour Photo Finish Shadow Primer all over the lid and then follow with a base shadow. I use Mac Blanc Type as my base shadow, but use anything that is matte and close to your skintone. You then want to take Makeup Geek Peach Smoothie and blend it from the crease blending to the brow and then also take it under the lower lashline. Instead of hugging the lashline, follow the contour of your eye. I use a Hakuhodo J2255 for this step.
Step 2
Now let's start to add our pinks! Use a fluffy blending brush, I am using a Sigma E25 for this step. I am applying Saucebox Berry Pink from the Forbidden Fruits palette in the crease and then hugging the lower lashline, concentrating the color in the crease and outer portion of the eye before blending the edges. I take a Crown Delux Crease Brush to blend the edges using small circular motions.
Step 3
Now take a flat brush, I am using a Hakuhodo 242G to pat Saucebox Tutu from the Forbidden Fruits palette along the lid.
Step 4
To add some fun to this look add some Freak from the Urban Decay Electric Palette to the inner two thirds of the lower lash line using a patting motion to apply. I think a pop of green is fun with prinps, bot for a tamer look you can use more Tu-Tu or even a champagne color.
Step 5
Now this is just a beautiful color! Add some of Jilted from the Urban Decay Electric Palette (not FDA approved for the eye area) into the crease and along the outer third of the lower lash line. I use a Hakuhodo J 5529 to apply and then blended with a Sigma E25.
Step 6
To start to add the final touches you want to highlight your inner corner and brow bone. I am using Mac Mylar as a highlight and applying with a Mac 239.
Step 7
The final step is to add some mascara, and if desired also add some lashes as well. I added the Lena Lashes in the Monroe style. I also added some colors liner into the water line using the Makeup Geek in Mint and Orchid .
I hope you guys enjoyed this tutorial and please let me know if you'd be interested in seeing more photo tutorial instead of just video tutorials. I got a new tripod and it is makes photo tutorials so much easier, so I'd be happy to make more.
-Rebecca