
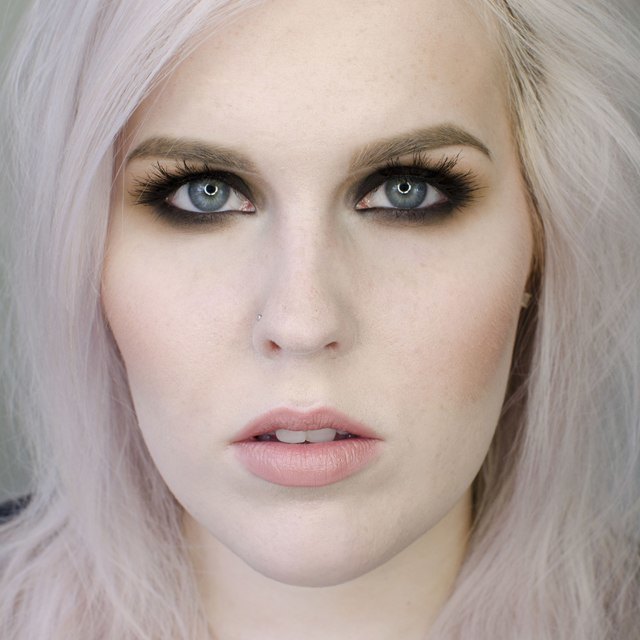
A tutorial for a grungy look with Mac Uninterrupted was requested, so here it is. This is done with just a few shadows, but does take a bit of blending. It's a bold look which looks great with a nude lip, or if you're really bold try a black. Follow along or check out my video to see how to apply this grungy black and camel colored eyeshadow.

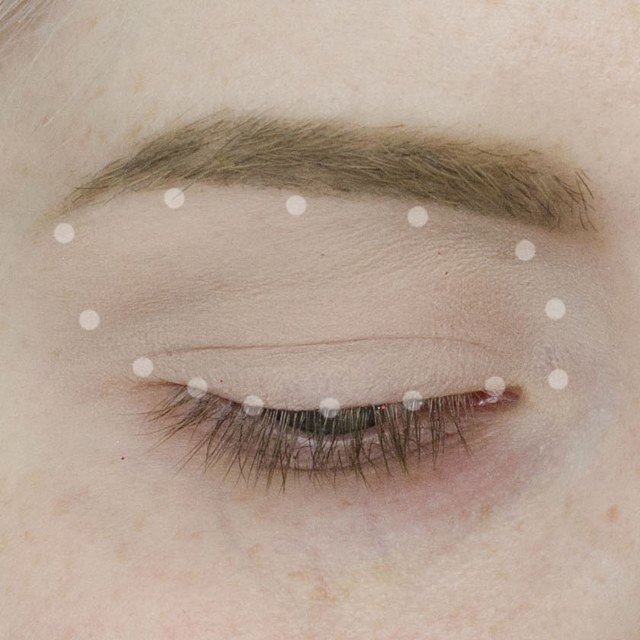
Start out by priming your lids. I am using Mac Painterly Paint pot.

Add a base shadow (close your your skin color & matte) from the crease to the brow. I am using Mac Blanc Type (matte, light cream) on a Sigma E60.
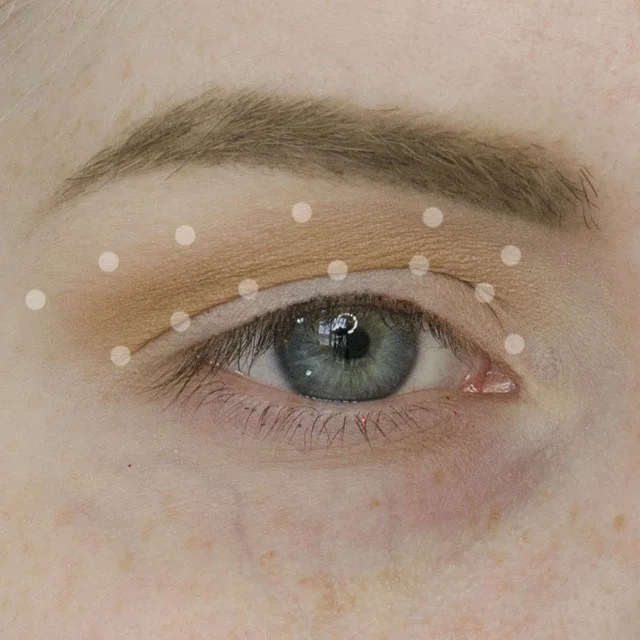
Now blend Mac Uninterrupted (matte, warm camel) from the crease blending towards the brow. I am using a Hakohodo J5522.
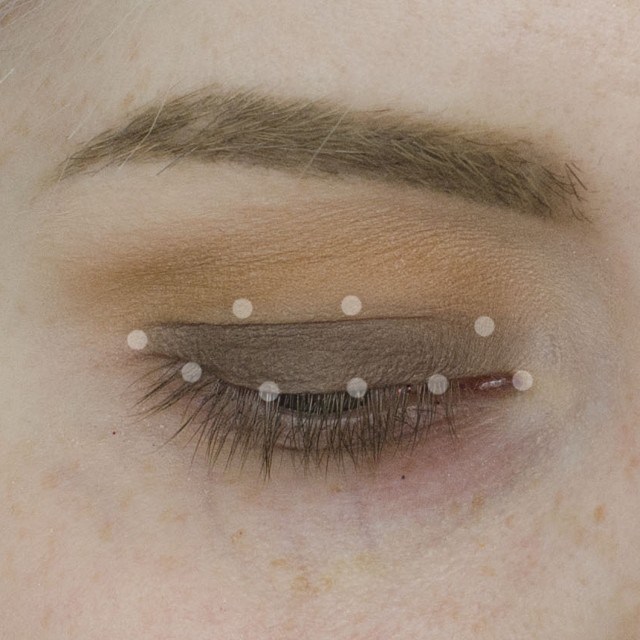

This is a step to just make blending easier: use Mac Concrete (matte, muted taupe brown) to the lid and blend towards the crease. I use a Mac 242 to apply and a 217 to blend.Now were going to get dark and messy. Grab your favorite black eyeshadow and put it on the lid. I am using Saucebox Black Widow (matte, black) and a Mac 242.

Blend the black at all the edges & make sure it comes all the way to the lash line.

Take a bit more of Mac Concrete and blend it just above the crease.

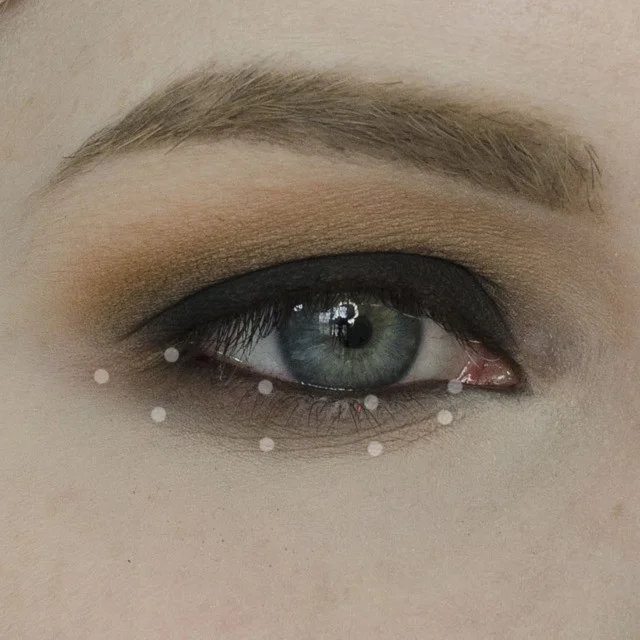
Now, do your concealer and what not. As you can see, I didn't bother concealing well on the lower lash line since we'll be covering that up anyway.

Line your upper and lower waterline with black. I am using NARS Larger Than Life liner in Vio Venito.
Blend Mac Concrete along the whole lower lash line. I am using a pencil brush for this.

Now grab Mac Uninterrupted--don't be shy--and apply it to the lower lash line. Blend this out as far as you're comfortable with. I used a Sigma E45 to apply.

Add a highlight to the brow and inner corner.

Take some black shadow on a pencil brush and line the lower lash line.

Curl your lashes & add some mascara and you're done!

I added some funky lashes to finish my look (House of Lashes Bambi).
Products:
Face:
Makeup Forever Primer – 0
NARS Pro Prime Smudge Proof base
Makeup Forever HD foundation – 118
Illamasqua Skin base – white
NARS Transparent Crystal Powder
Nars creamy concealer – Chantilly
NYX Corrector – Fair
ELF Mist & Set
OCC Cream Color Concentrate – John Doe
Anastasia Contour Kit
Hourglass Ambient Lighting Powder – Diffused
Hourglass Ambient Lighting Powder – Ethereal
MAC Pro Shaping Powder – Emphasize
Blush: Mac Warm Soul
Eyes:
Mac Painterly Paint Pot
Mac – Blanc Type, Mylar, Uninterupted
Mac Chromaline in Black
Mac Chromaline in NC20/NW15
L’Oreal Voluminous mascara-Carbon Black
Mac Extended Play Gigablack Lash Mascara
Anastasia Clear Brow Gel Anastasia
Dip Brow in Taupe & Medium Brown
Lips: YSL No 10 and then Mac Rebel over Sephora Collection Nano Liner in Plumb
Lashes: House of Lashes Bambi