Daytime Easy Step-by-Step Eye shadow Tutorial Capsule Makeup Collection
Daytime Easy Step-by-Step Eye shadow Tutorial Capsule Makeup Collection
Great for beginners, students, busy moms, those with hooded eyes, and anyone that likes quick and light makeup.


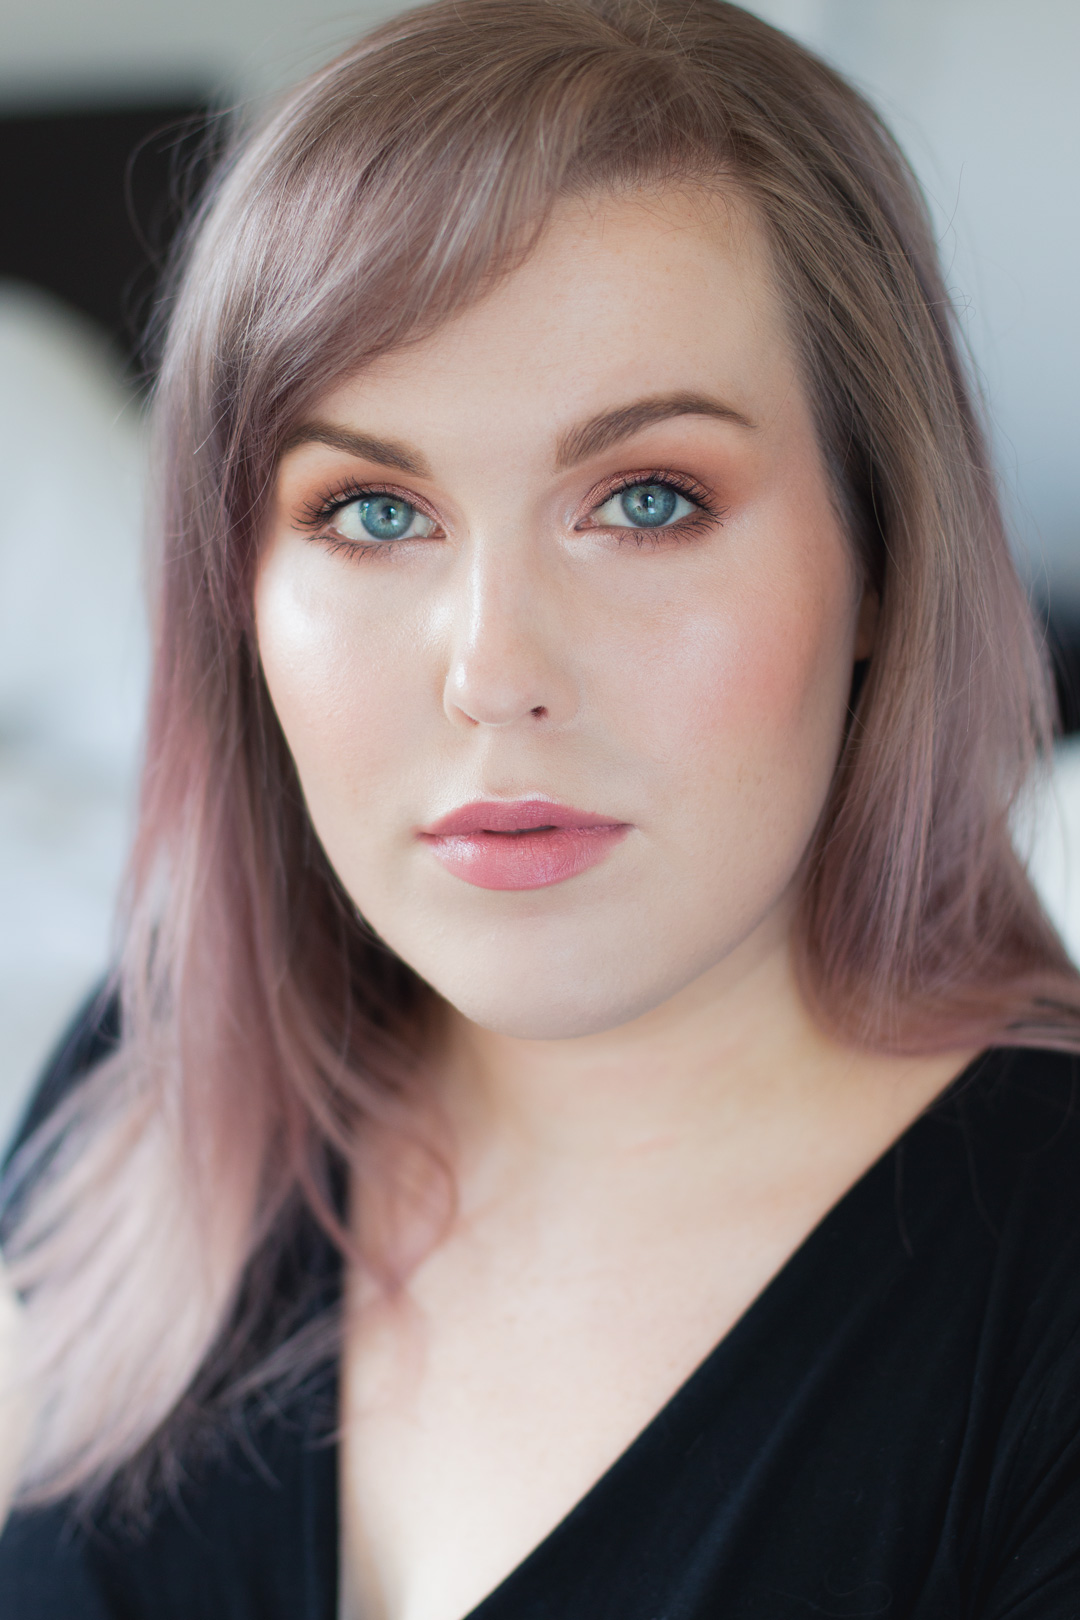
Here is the first look in my Capsule Makeup Collection series. This makeup look is a quick, easy, and uncomplicated look. This step-by-step tutorial is for someone that wants a fresh, bright eyed look, that has to get ready quickly.
I imagine this is for the person that has a long commute, the busy parent, the student with 8am class or anyone who likes to wear less makeup. It’s also a great option for those with hooded eyes.
Let’s get onto the daytime eye shadow tutorial! I’ll take you step by step showing you how I created this look. Don’t forget to enter the giveaway if you want to win the products used! Details in this post!
Disclosure: Some of the links in this post are affiliate links and if you click them to make a purchase I will earn a small commission. I only link to companies and products that I enjoy and would recommend to you. The decision is yours, and whether or not you decide to buy something is completely up to you and thank you if you do use my links and help support me and my blog. This post contains products sent to me for consideration (PR) free of charge from the brand.
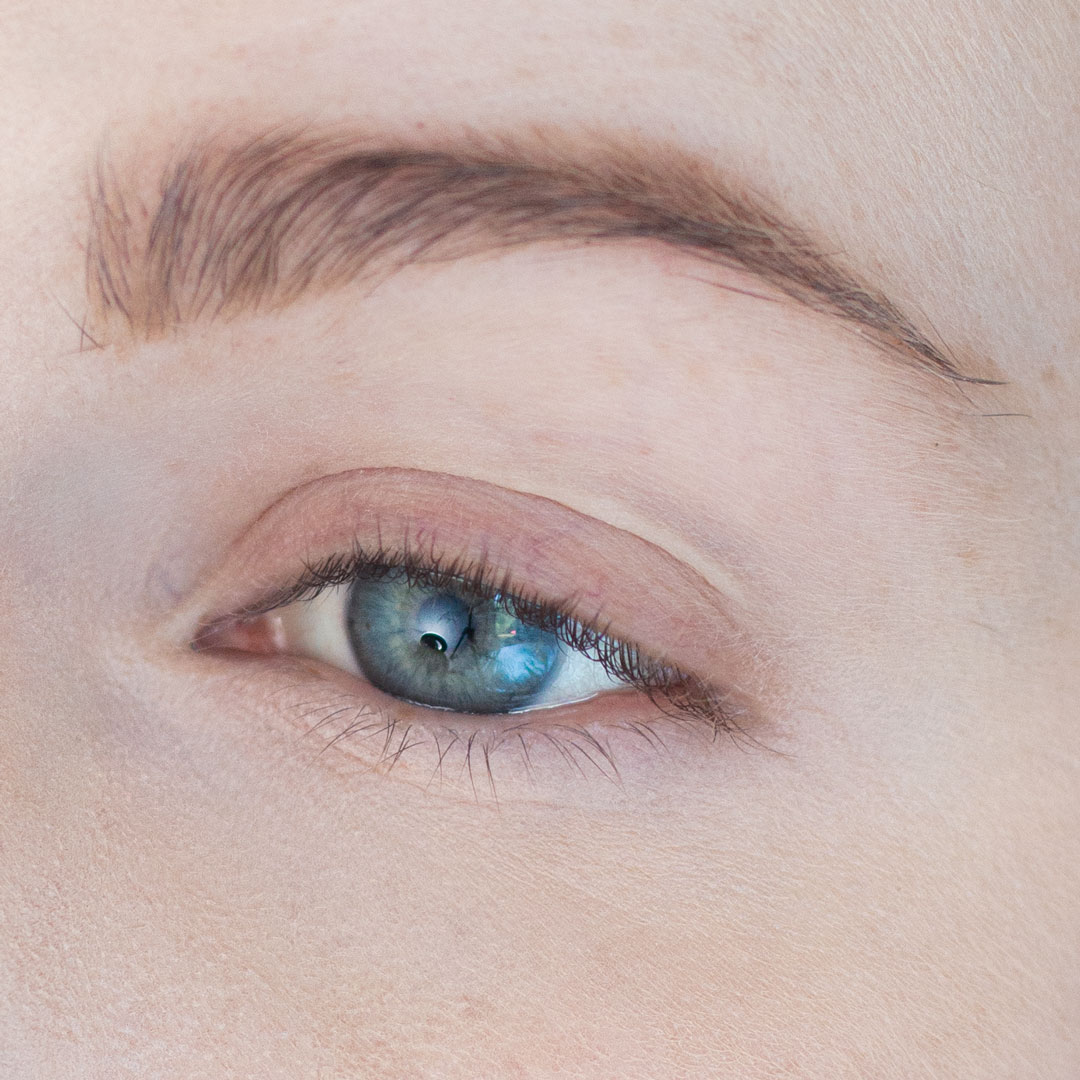
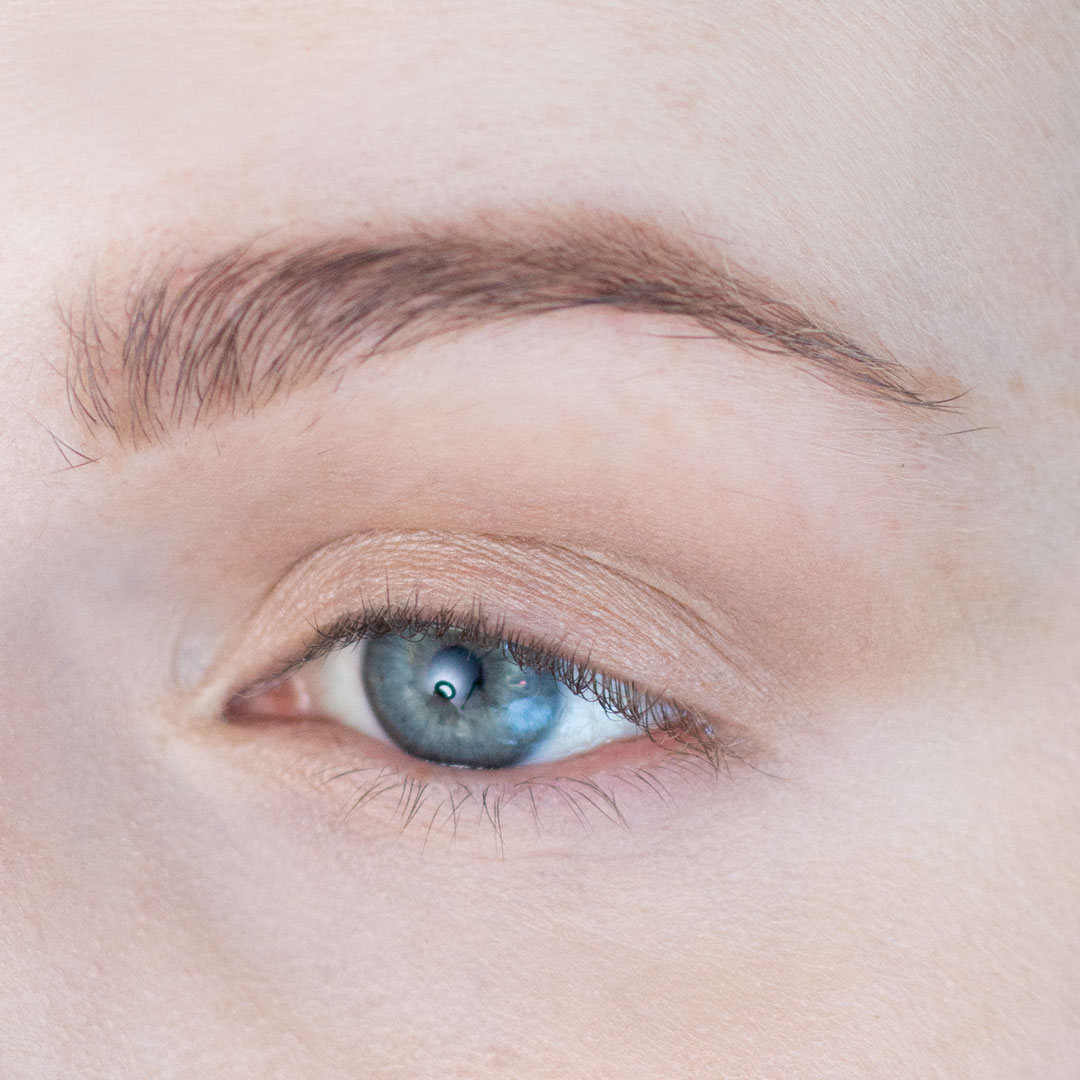
Prime your eyes! This will give you a great base. For hooded eyes wearing a primer will really help with creasing. I am using Smashbox 24 hour Photo Finish Eye Primer.
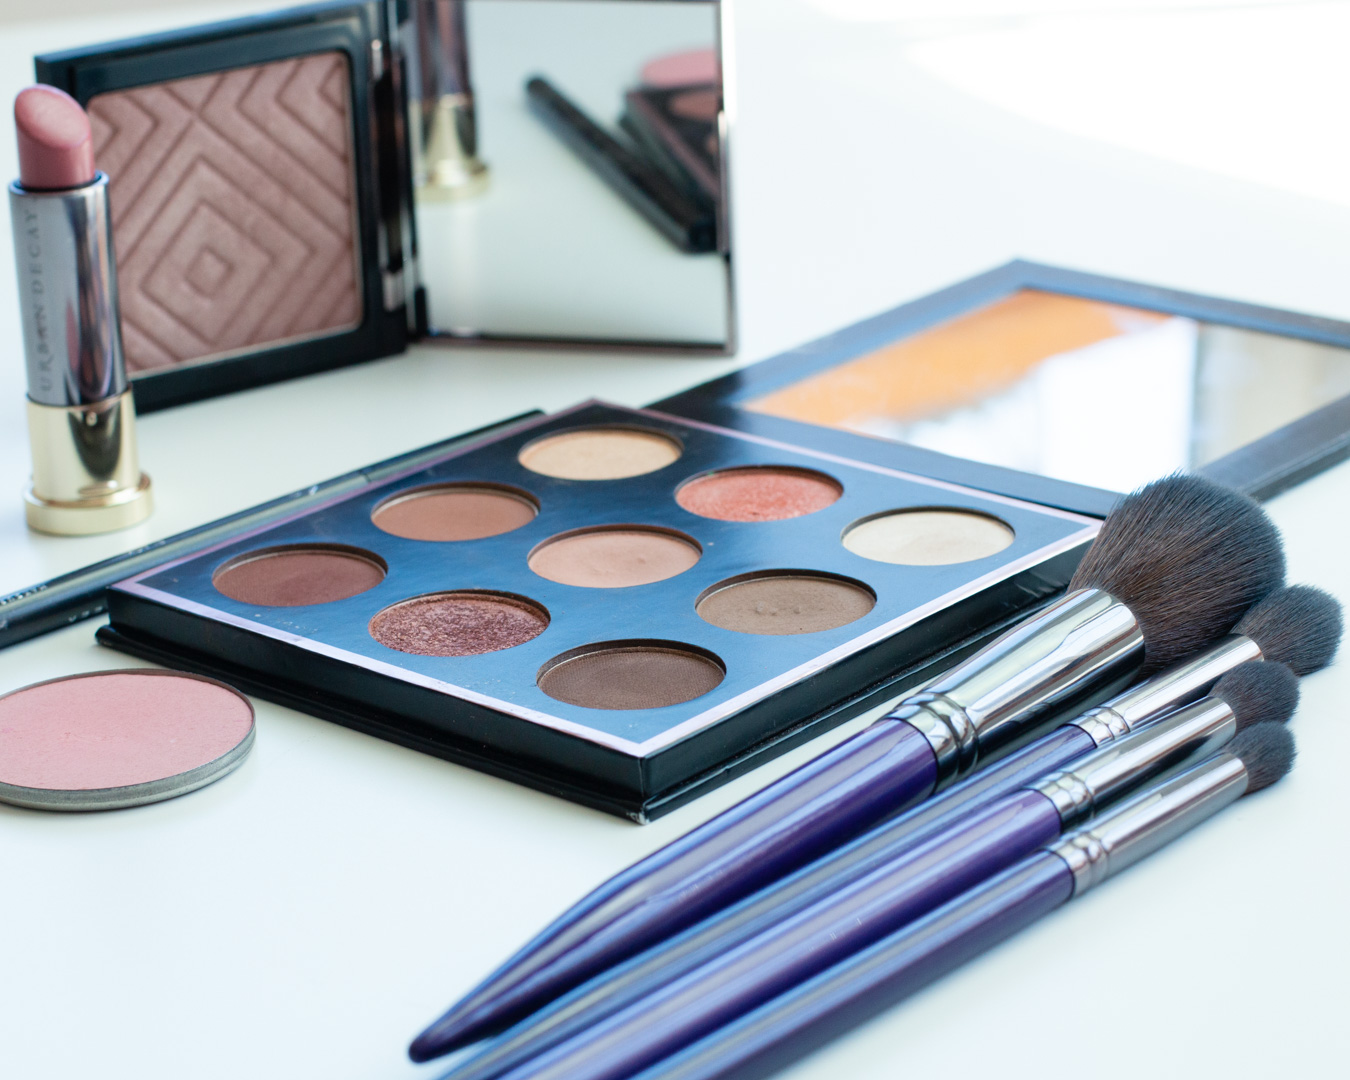
Then use So Pale (off white warm cream, matte) from the In The Nude by Makeup Geek. Apply the eye shadow from the crease and blend up to the brow to add a base to blend on. I am using a S165 Cozzette brush to apply.
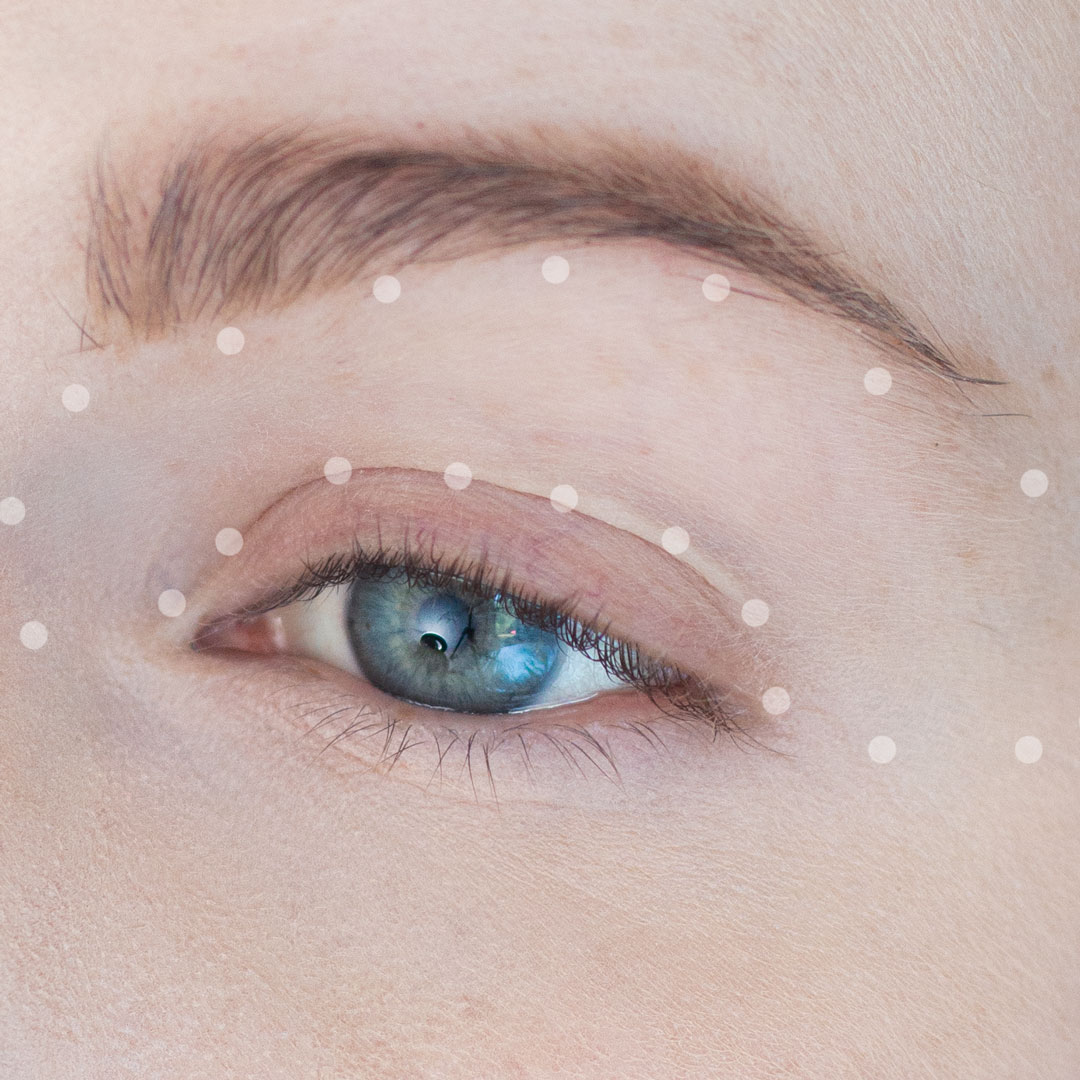
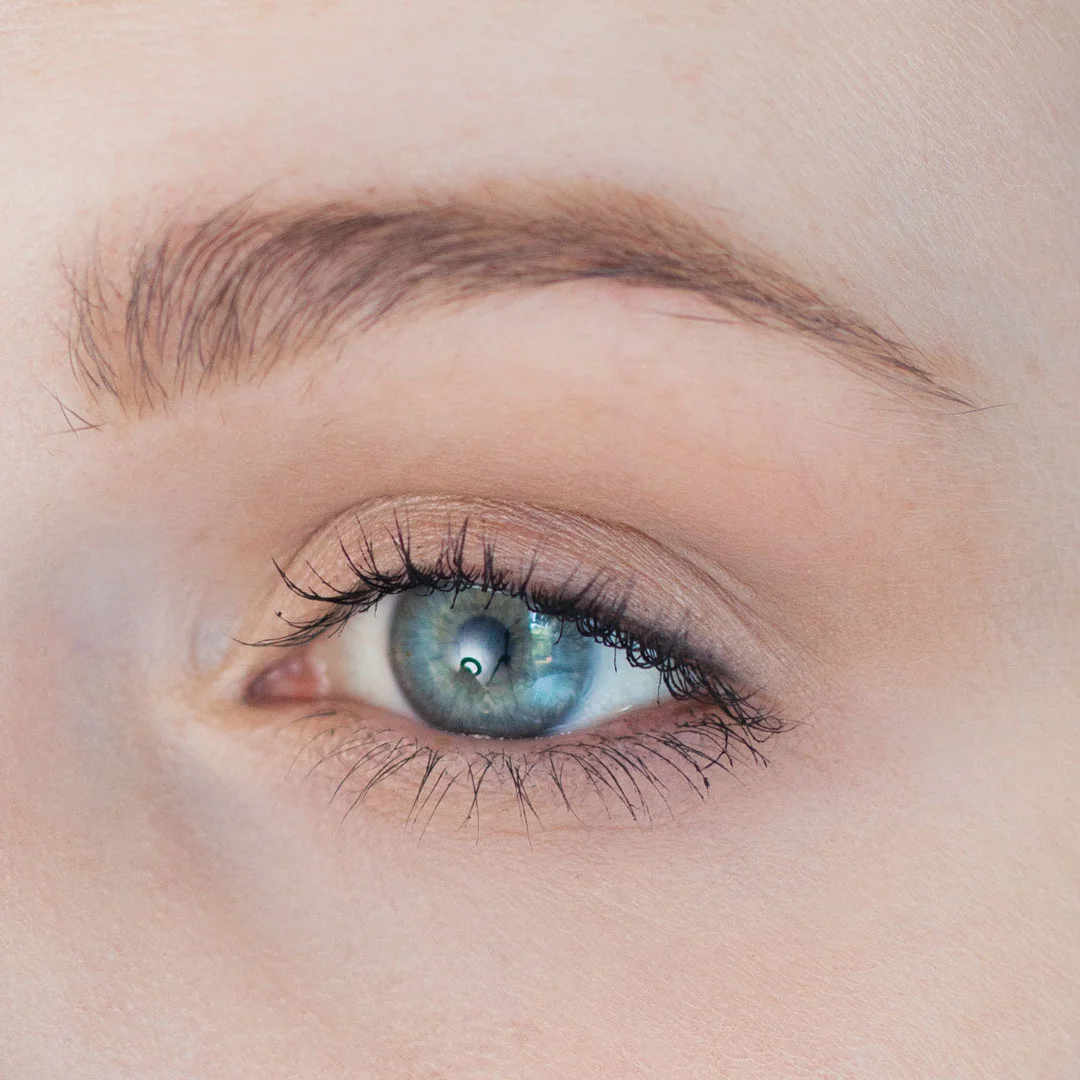
Now let’s apply a lid color. I am using Rapunzel (soft warm champagne with a finish that sits between a satin and metallic) from the In The Nude palette. You could use a flat brush for this, but I am just going to use a clean finger. I wanna keep the took count low since this is quick and easy.
Tip: This is a great step to change up the color. You could easily swap this out for a gold or even something fun like blue without adding any extra time to your routine.
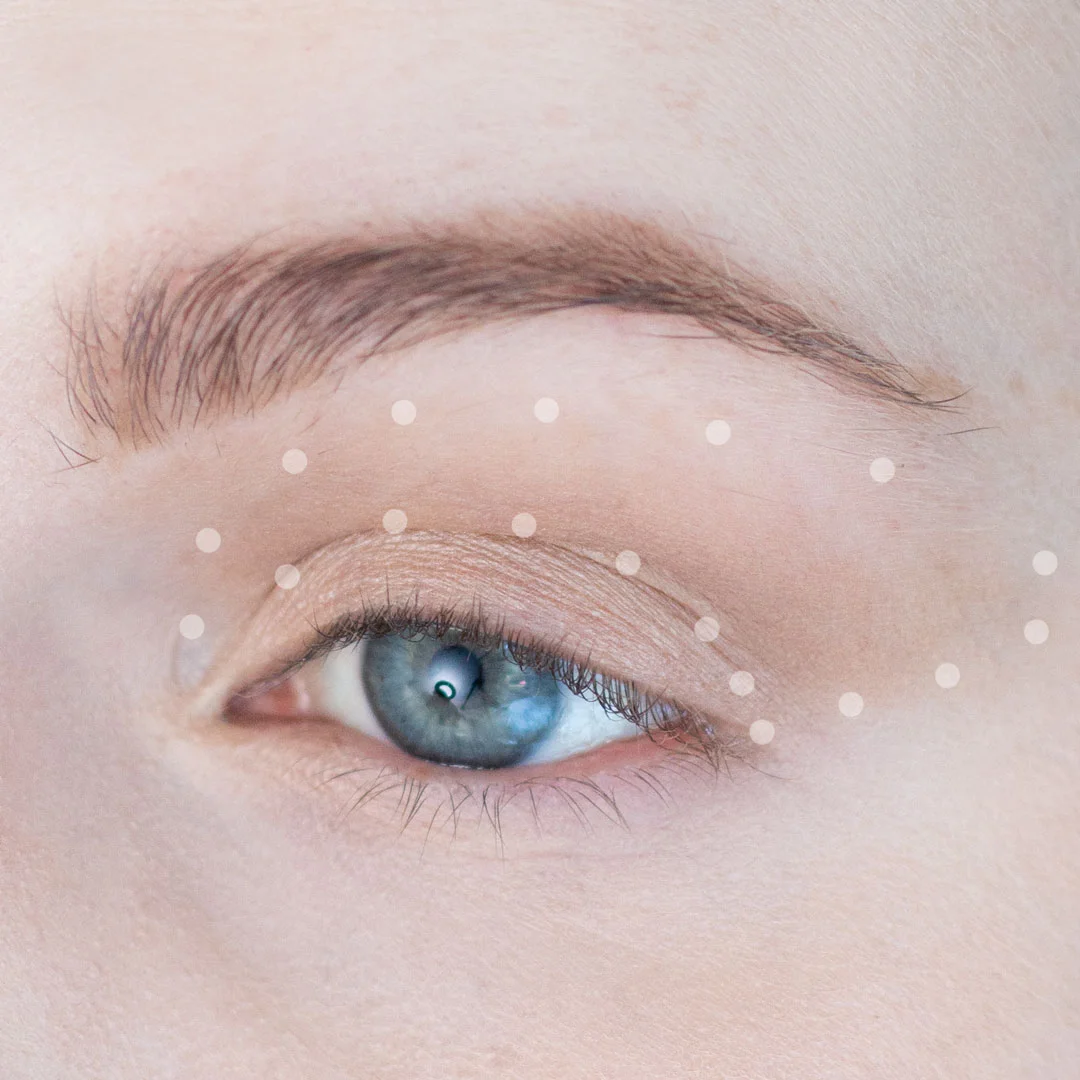
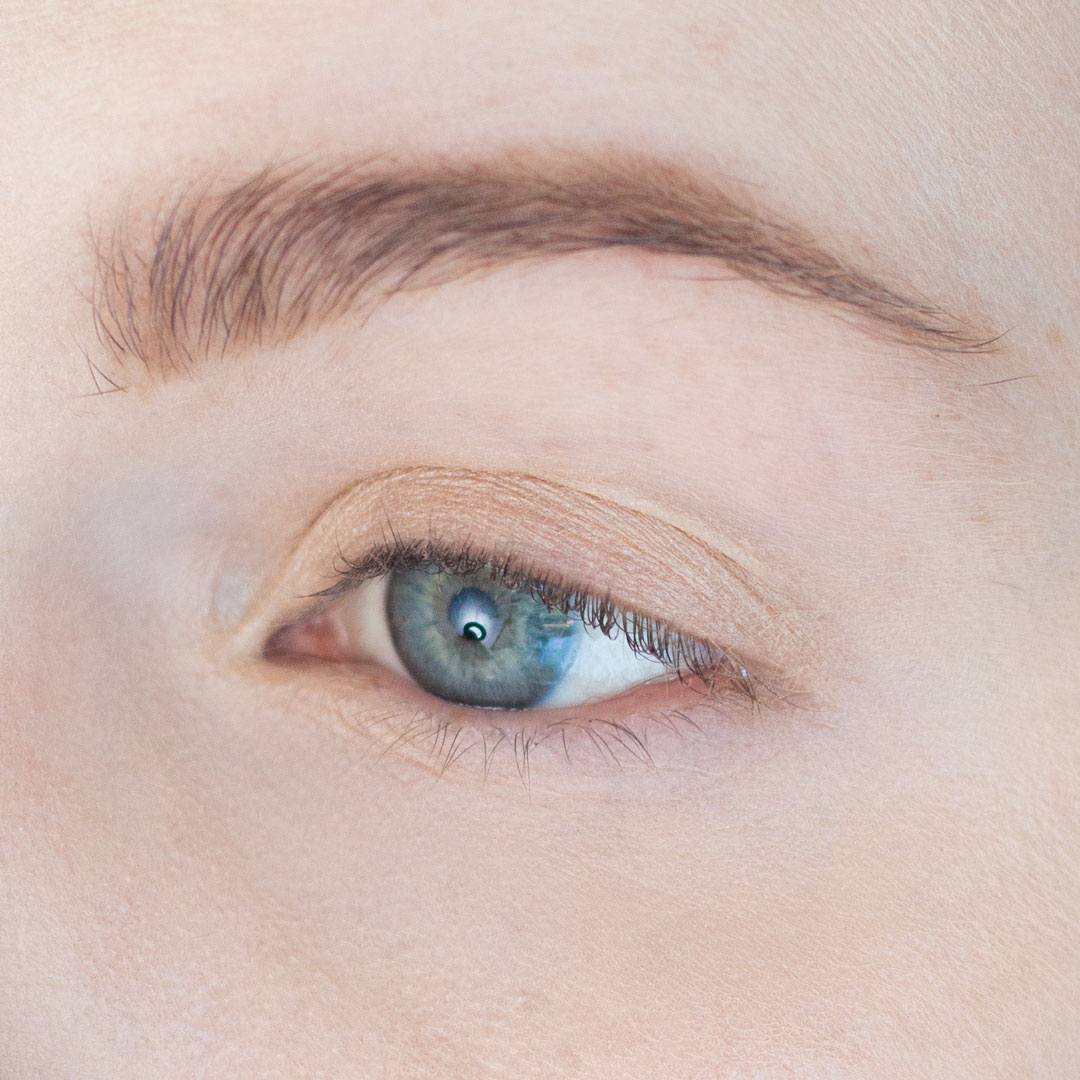
Now we want to add a transition and sculpt the eye.
This step will help your eyes appear larger and it gives a nice definition to the eye. I am using a Cozzette S175 to apply Creased (mid-toned taupe brown, matte) from the In The Nude by Makeup Geek palette. Start by applying the shadow closer to your crease and then as you have less product on the brush blend outward to the brow,


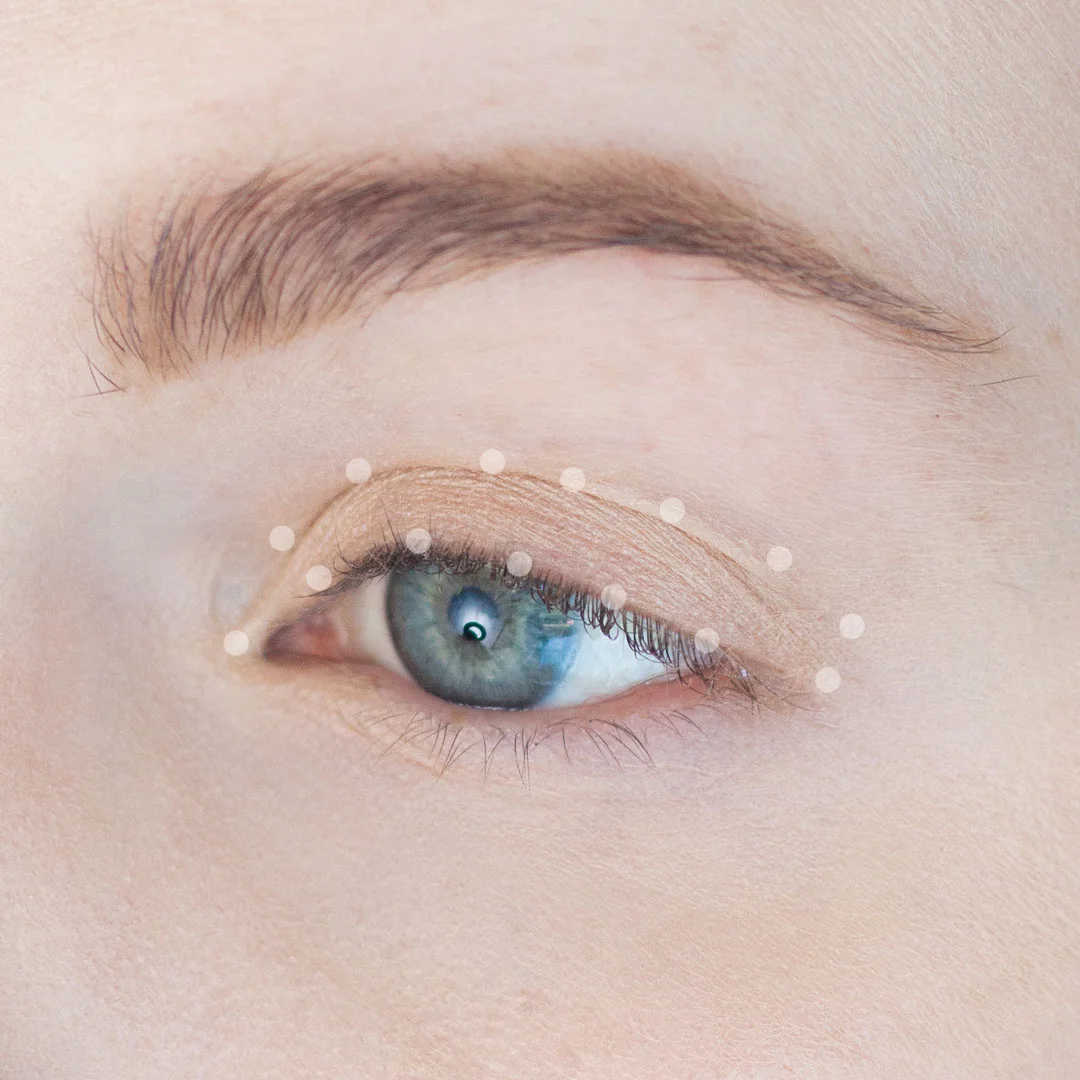
We’re now going to define the lower lash line and also make the eyes appear larger. Using a D220 by Cozzette apply more of Creased (mid-toned taupe brown, matte) from the In The Nude by Makeup Geek palette along the lower lash line using back and forth motions.
This is a soft way to define the lower lash, rather than using a liner which can make the eye appear smaller.
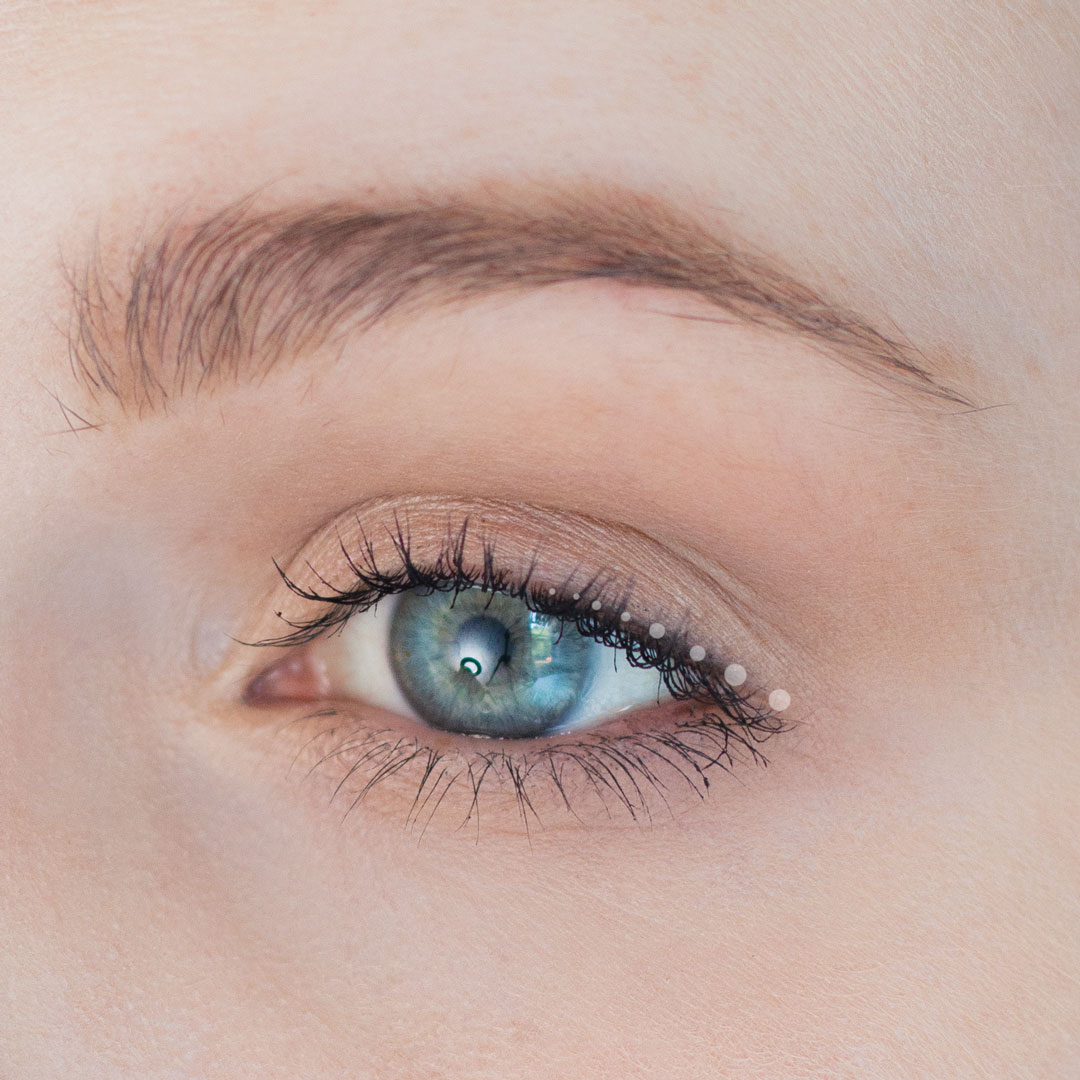
On to the last step! I told you this was easy!
Using a light touch apply the Makeup Geek Black Eye Liner to the outer third of the upper lash line. After applying blend lighting with a brush or finger. I apply with a light hand and then apply more pressure as I get to the edge of the eye. This gives an elongated eye look which is very pretty. Then all you need to do is curl your lashes and apply some mascara. I am using Maybelline Full N Soft Waterproof mascara.
Tip: If you have larger eyes feel free to line your whole eye. Those with smaller and/or hooded eyes like mine will find lining half to a third of the eye a better fit.
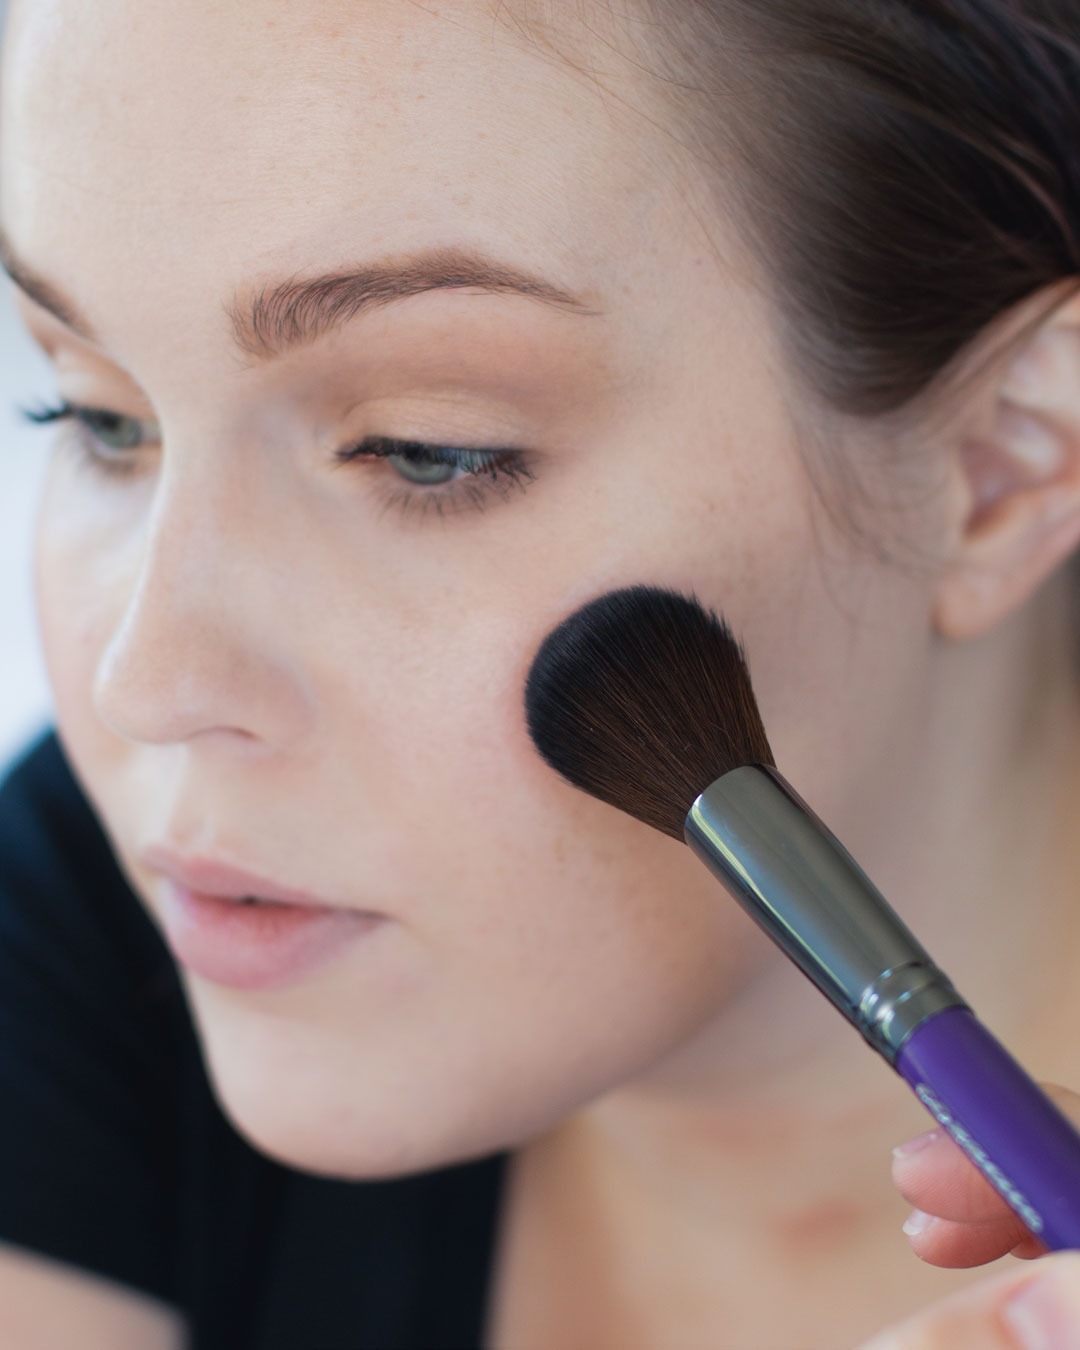
Apply a little bit of Makeup Geek Spellbound blush to your cheek bones. I am using a Cozzette S130 to apply with light circular motions. We’re using a blush with warmer undertones since the eyes are pretty cool toned.
This step is optional.
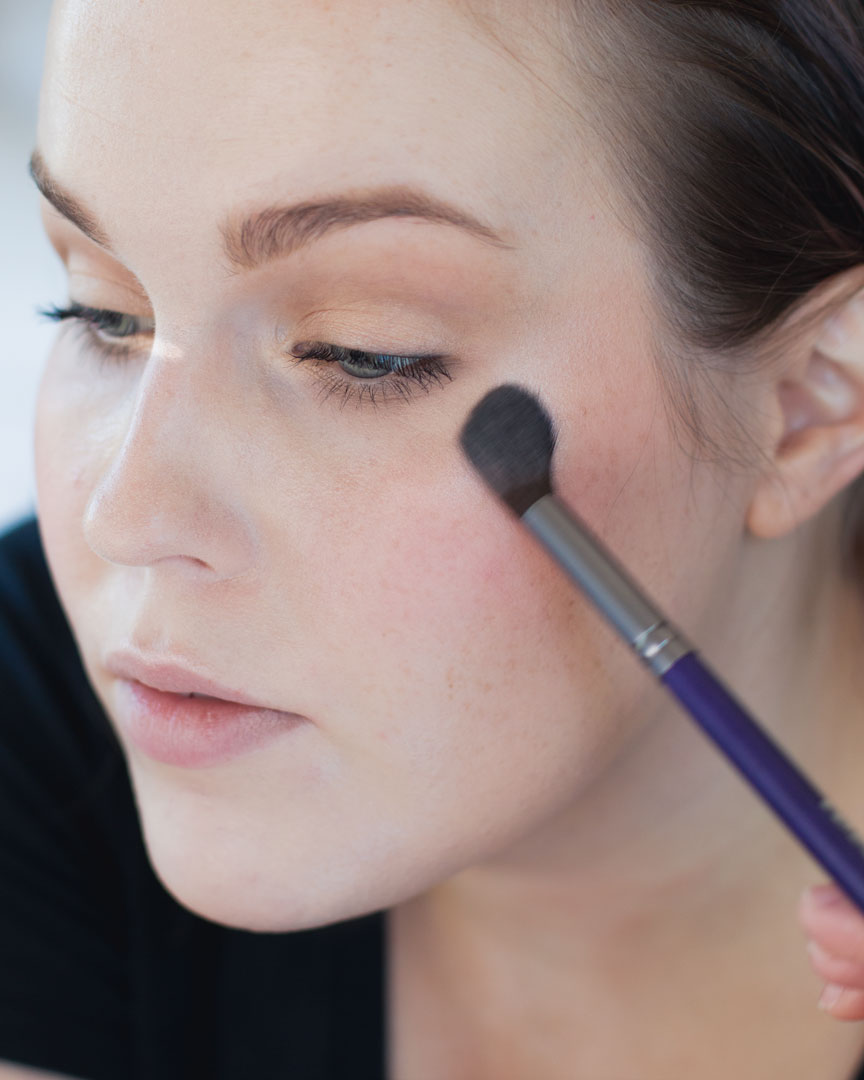
Apply a little bit of Makeup Geek Luster highlighter. It is a very intense highlighter so I am using a small brush (Cozette S165) to apply it sparingly. I just want my skin to look fresh and hydrated. I am only hitting the very top of the cheek bone and a little on the cupids bow.

Apply Urban Decay Naked (soft nude pink, matte) to the lips and blend out with a clean finger. This creates a soft lip line and looks more like a stain. A soft lip complements this look nicely.
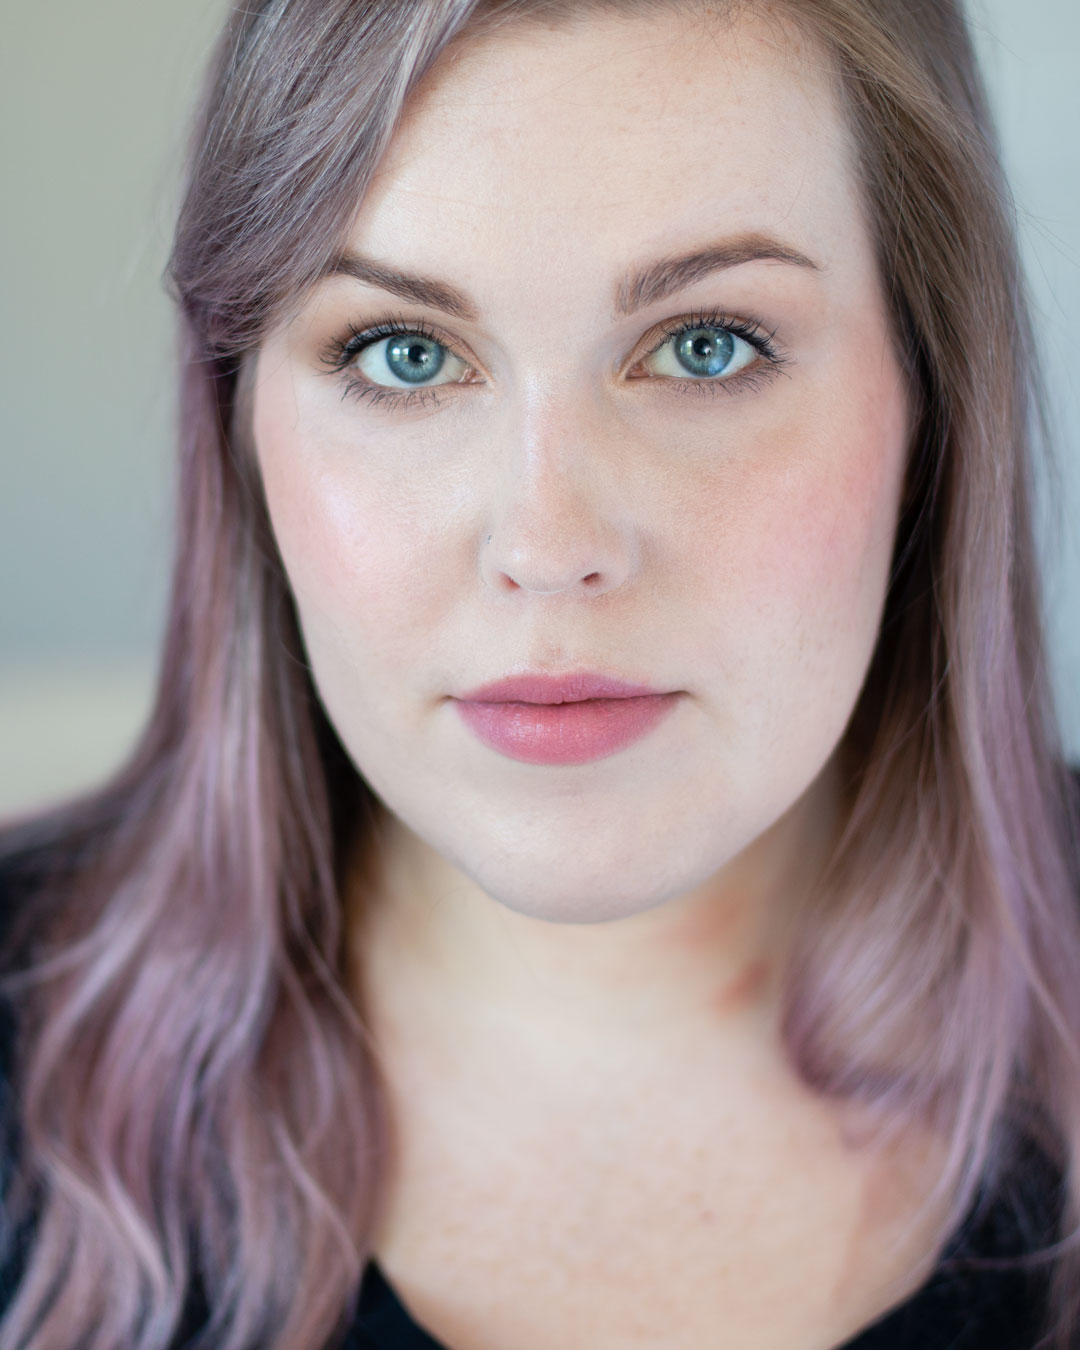

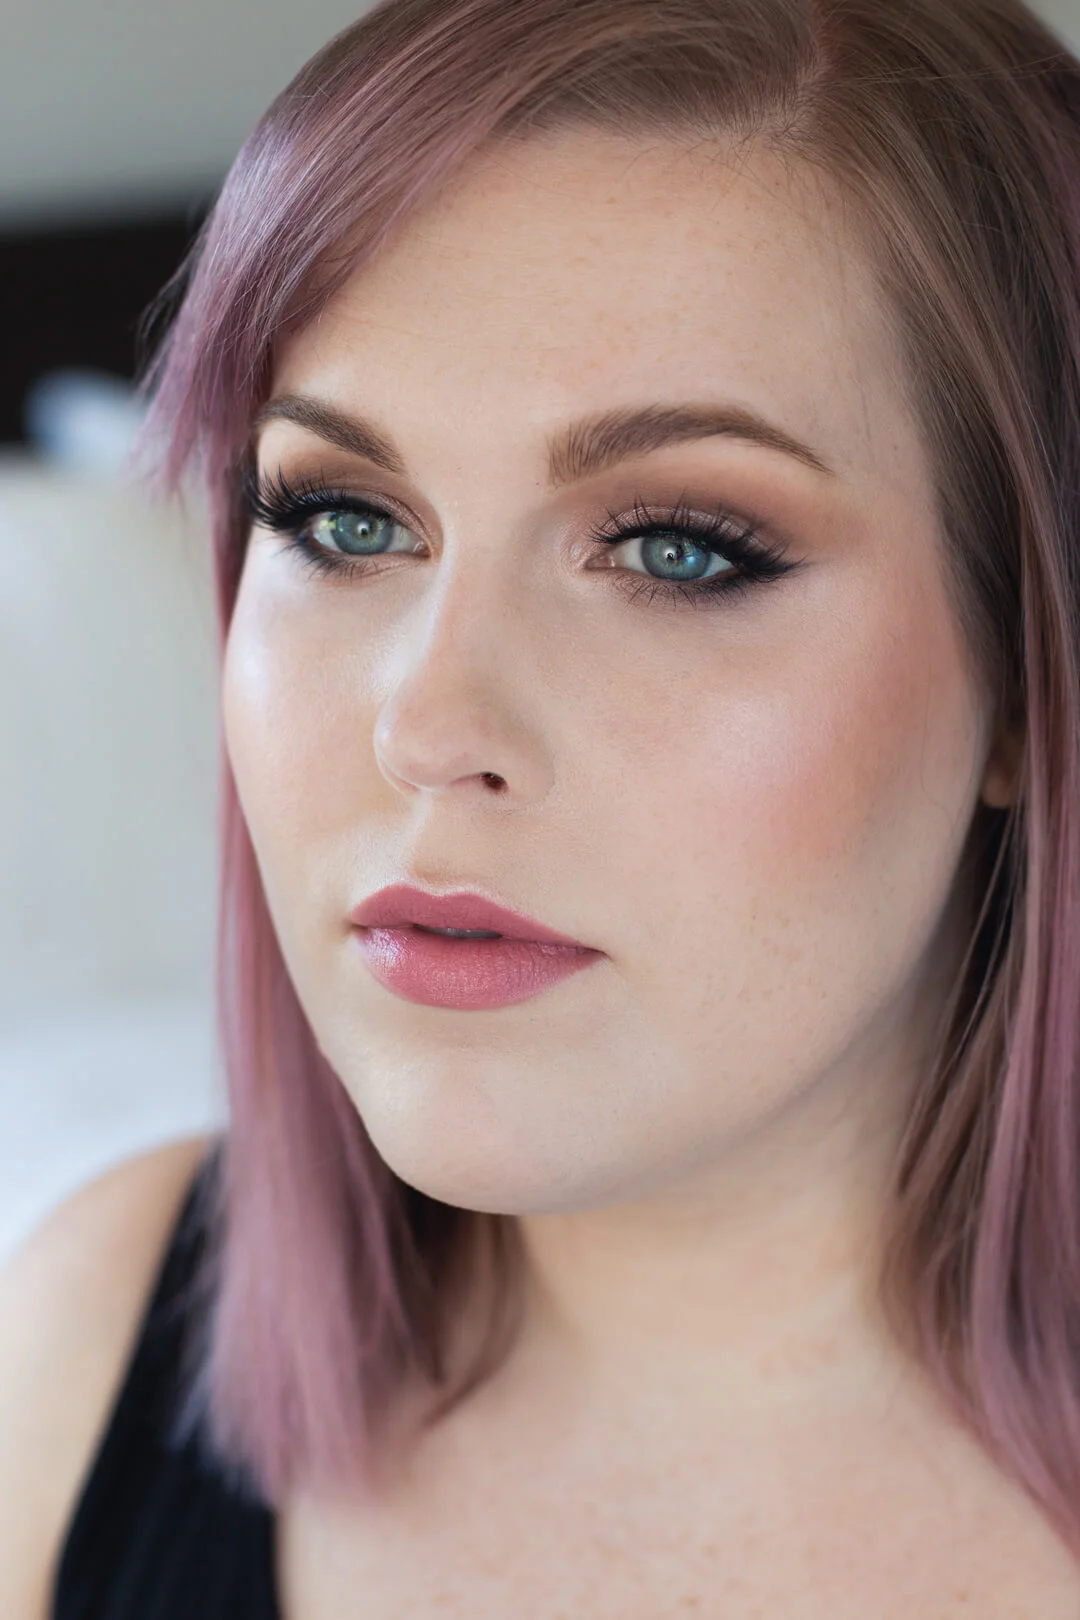
Here’s how it looks altogether.
I am wearing items only from my capsule makeup collection. Check this post to see what 15 items I am using for all five of these tutorials. My Foundation is Cinema Secrets 601, concealer is Make Up For Ever Ultra HD in 12 applied under eyes and around nose, Pixi Brightening Peach to help with under eye darkness. I finished the look with Urban Decay All Nighter Setting Spray to keep my makeup looking fresh all day.
This is a look I wear often when chasing Julia around at home, going to play-dates, or running errands so I wanna look fresh and awake, yet also have it take only a few minutes to apply. I’d ask you to trust me, but you should try for yourself! it really is quick and easy.
I hope you enjoyed this step-by-step tutorial and you found it helpful. Keep an eye out and sign up for my newsletter so you don’t miss next weeks tutorial. If you want to win some of the items I am using click here to enter my giveaway!
Best,
Rebecca


Share these with your social media friends! #rebeccakshores